
These Base Makeup Hacks Can Change Your Life Forever!
How many times did you luckily experience that perfect makeup day? We all know how much time, effort, and money it takes to get there particularly because of the diversity in skin types and its stress stories. Let’s no longer allow that to ruin your look, shall we?
On Jan 18, 2023 – 19 minutes read
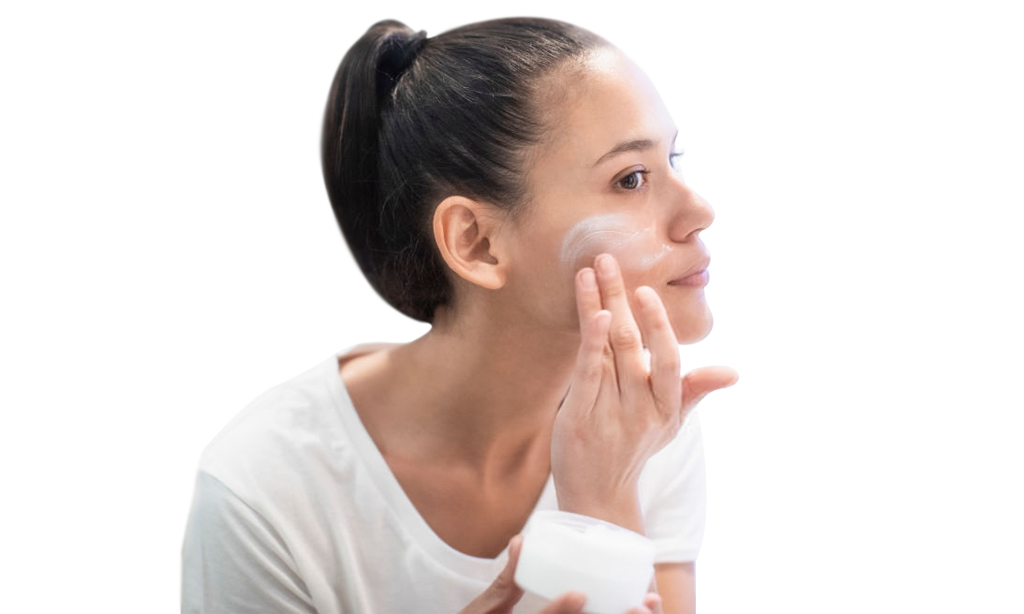
Building a proper base is very important for every aspect of life, the same goes for makeup. Without a proper base, your makeup would look patchy and cakey, and don’t even dream about making your makeup last a whole day. Getting the base makeup right would determine how the rest of your makeup is going to look. The statement lip and gorgeous smoky eyes will have no pint against a ghostly-looking flaky face. It can also aid in transitioning your makeup look visions into reality. Be it for your Christmas dinner or a party, your base makeup determines how long the makeup can set properly and also improves skin texture.
Here Are Some Life-Changing Base Makeup Hacks!
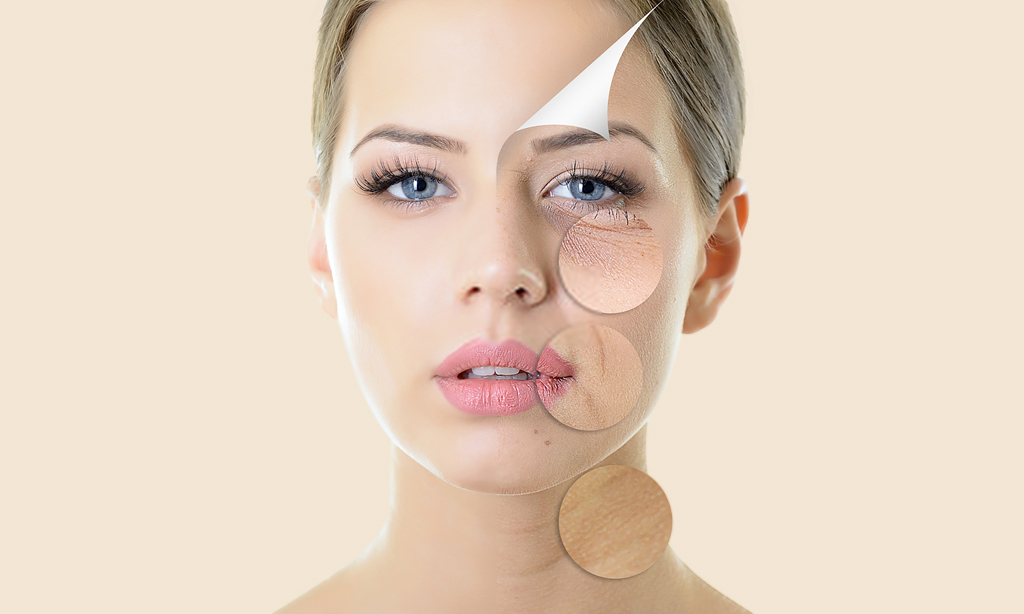
For those very few of us who are born with naturally less problematic skin, getting the base makeup right is all about finding the right products in the right consistency and blending them out well. But most of us have skin issues, scars, pimples (1), fine lines, and tiredness- getting the base right could be a bit harder.
Should I apply the concealer before the foundation or after? Which colors correct dark scars? My foundation is orange after color correction. These are some of the most commonly asked questions.
Acing The Base
With a little bit of understanding, you can apply the flawless airbrushed look. Mastering the art of camouflaging needs practice, using the right tools and makeup. Here are some of the Base makeup hacks that can change your life forever. Also through our various makeup artist’s friends, we could also bring you some simple tips that can bring a whole lot of change in the overall look and appeal.
Though completely erasing full-blown acne breaks out can be hard (2) (one cannot completely erase them as they are bumps on the skin, acne marks can be made less visible by diverting the attention to other features of the face), issues like dark circles, blotches, dry patches, hyperpigmentation, blemishes, etc can be taken care off using the right makeup techniques.
Basic Skin Issues and How to Camouflage Them?
Acne Breakouts
Anything that’s oil-free is acne-friendly (gel/water-based products). You don’t have to stay away from the basic CTM (cleansing, toning, moisturizing) routine just because you have acne and your skin is oily. As soon as you wake up start by cleansing your face with a mild oil-free cleanser (3), follow up with a gel-based moisturizer, and also you can add in an antiseptic cream for extra protection. This will take care of the breakouts now to start off the most basic thing for a flawless foundation is a primer- again go for a gel-based primer, even oily skin needs hydration.

If the acne breakouts are really red and stubborn then you can color-correct the area. You can also choose water-based products if you don’t like gel-based ones. Apply the same using a buffing brush. We recommend a buffing brush as it does not absorb the product like a blender sponge, also the buffing brush will make your product concentrated in the problem area.
To color-correct acne scars and redness, you can use a corrector followed by a concealer that is similar to your skin color (I’ll tell u all about color correcting in the next section). Similarly, you can find a lot of water-based light foundations in the market. For oily skin, I recommend using a foundation that gives a matte to a satin finish as this will help to reduce the shine on the face. Top it all off with a powder to set the makeup.
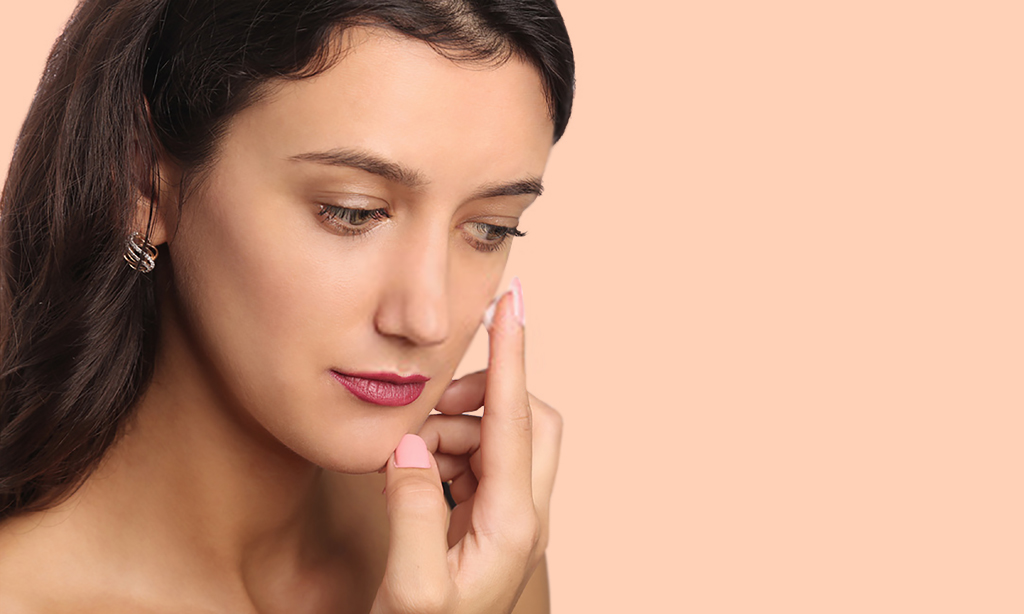
Scars And Pigmentation
Once you are done applying primer and moisturizer on the face, it’s time to color correct. Color correction is a bit tricky if don’t do it the right way. I’ll tell you exactly why.
Here Is a Brief Intro Into Color Correction Basics:
To start off, take a look at your naked skin in the mirror, most preferably under natural light, this will help you figure out where and what you want to color correct. This step is very important as each person’s face is different.
The makeup artist you follow might have a different face shape and structure, what works for him/her might not work for you, and the overall look can go awry very easily. As too why color correction is tricky because the skin can look too light and sometimes the concealer might peek through your foundation if you have the wrong shade. Therefore make sure you choose the right shade (that would depend on the skin concerns and the skin tone) of concealer for your skin tone.
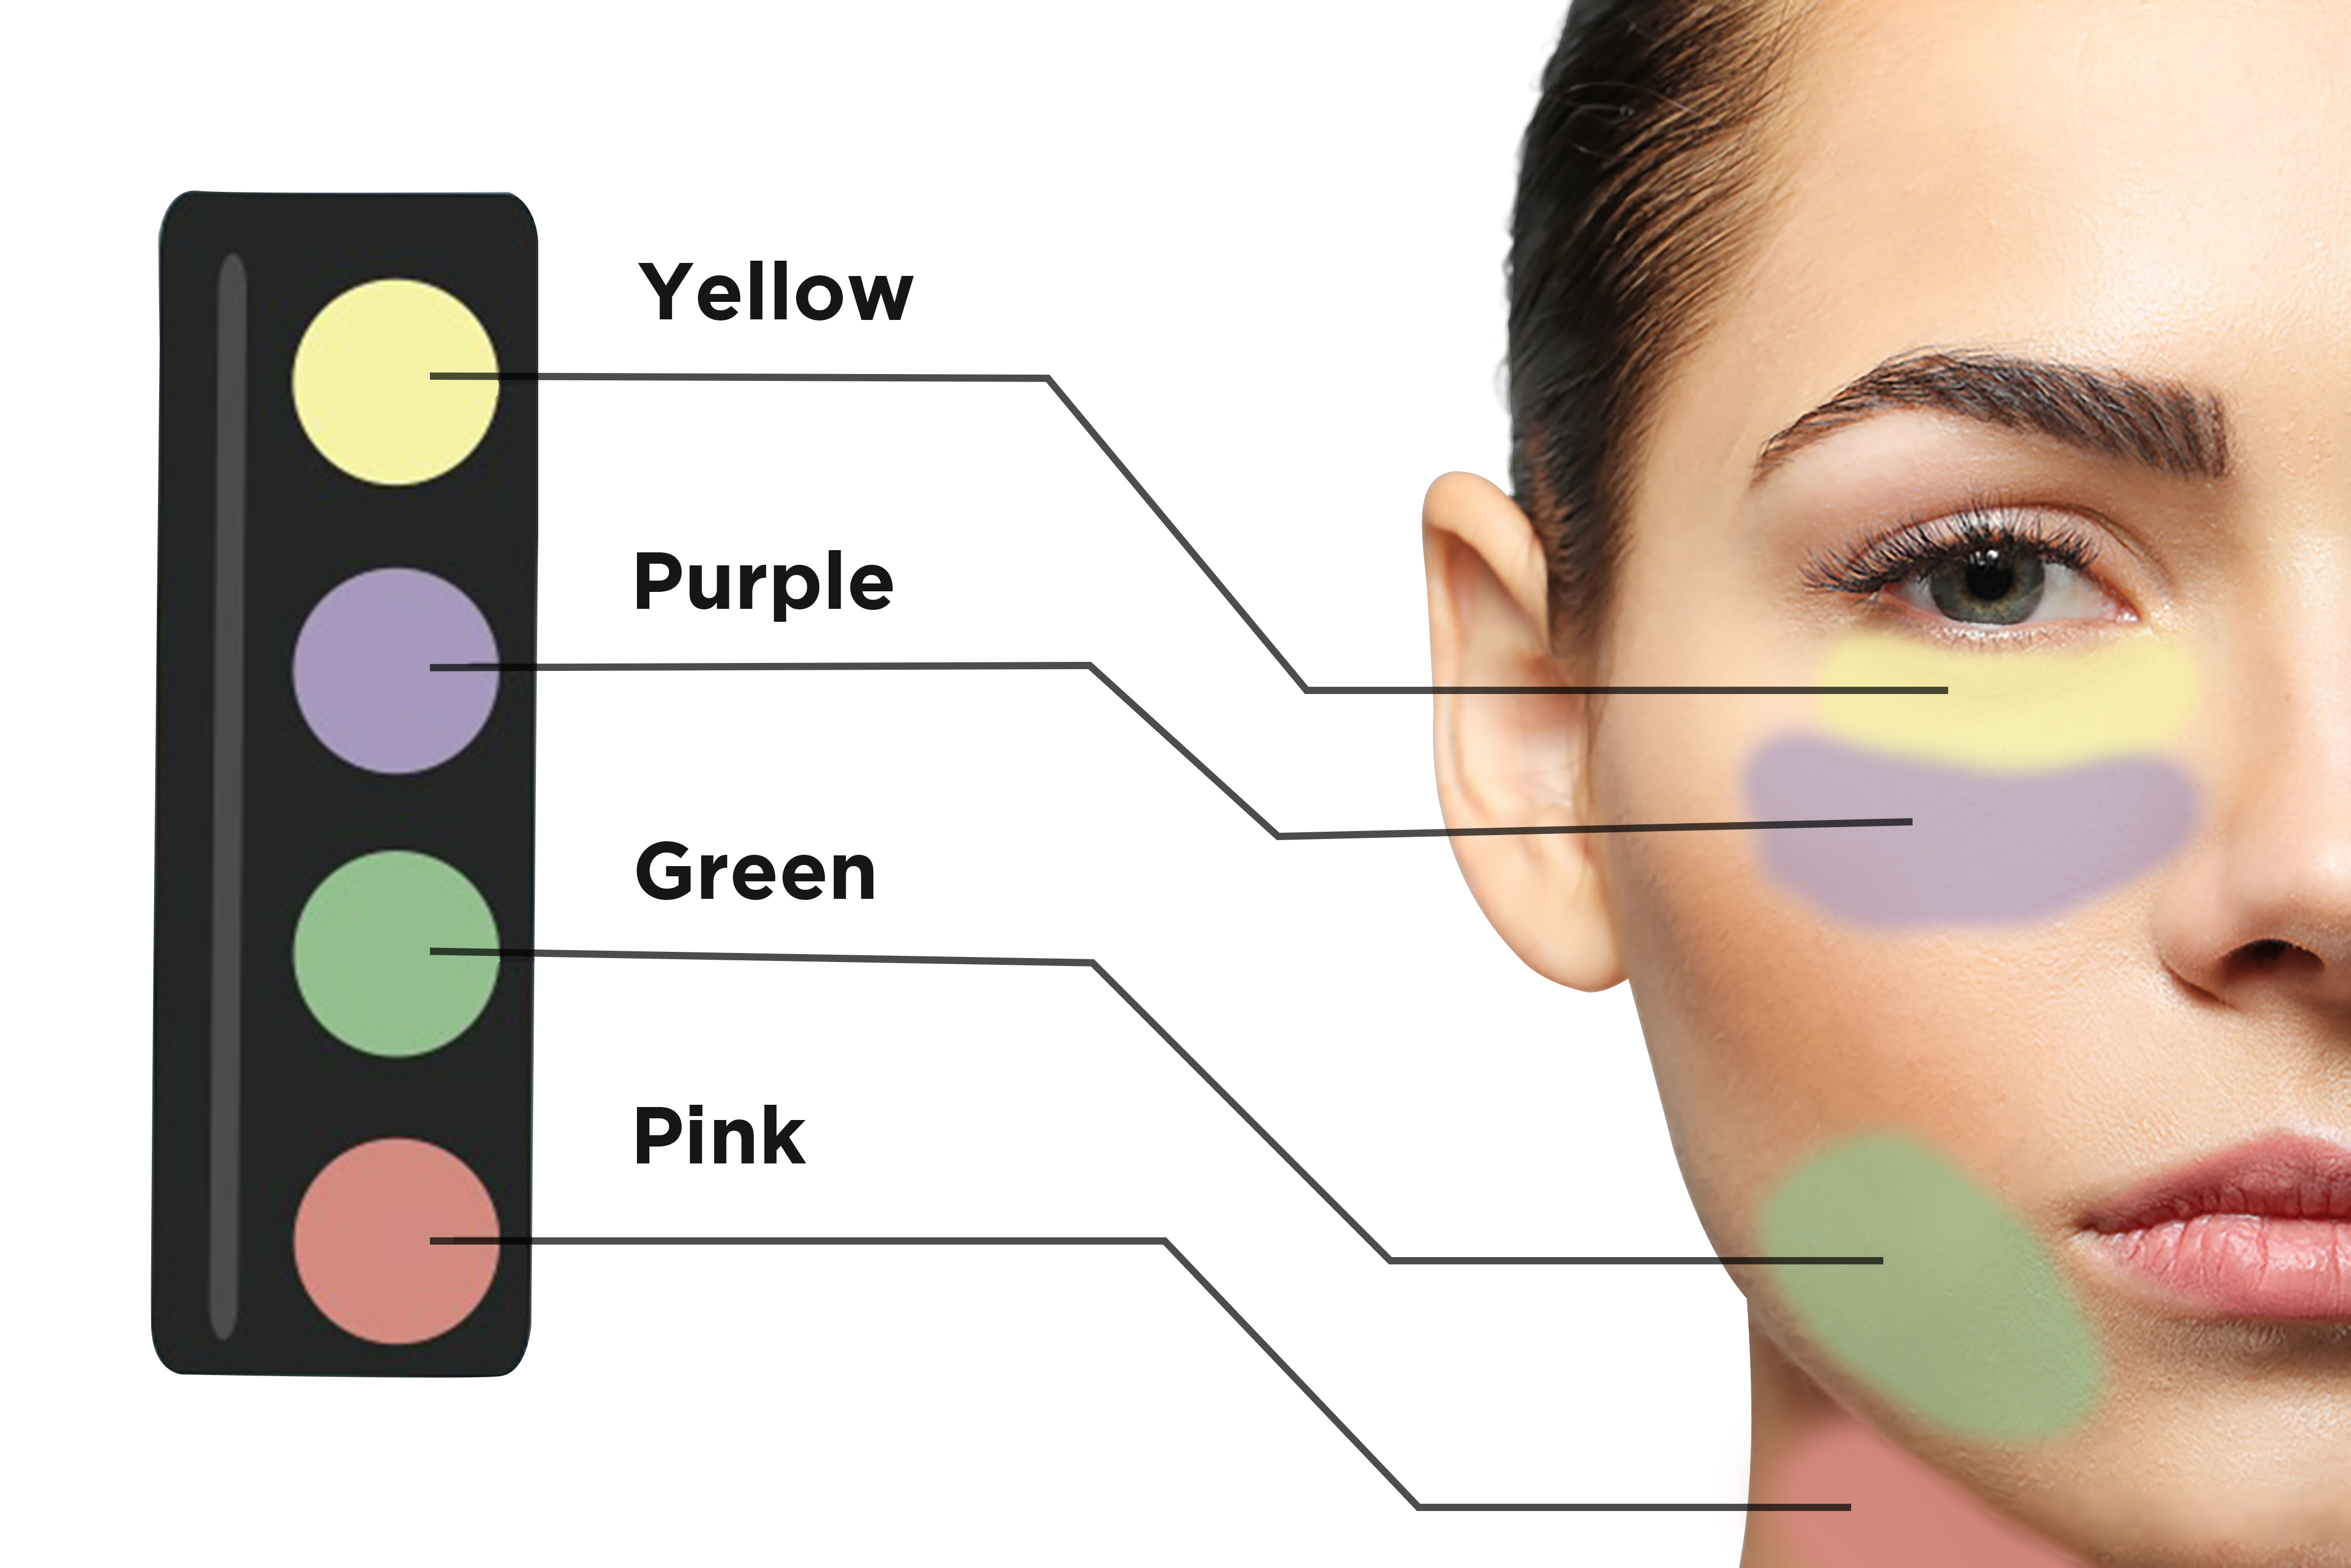
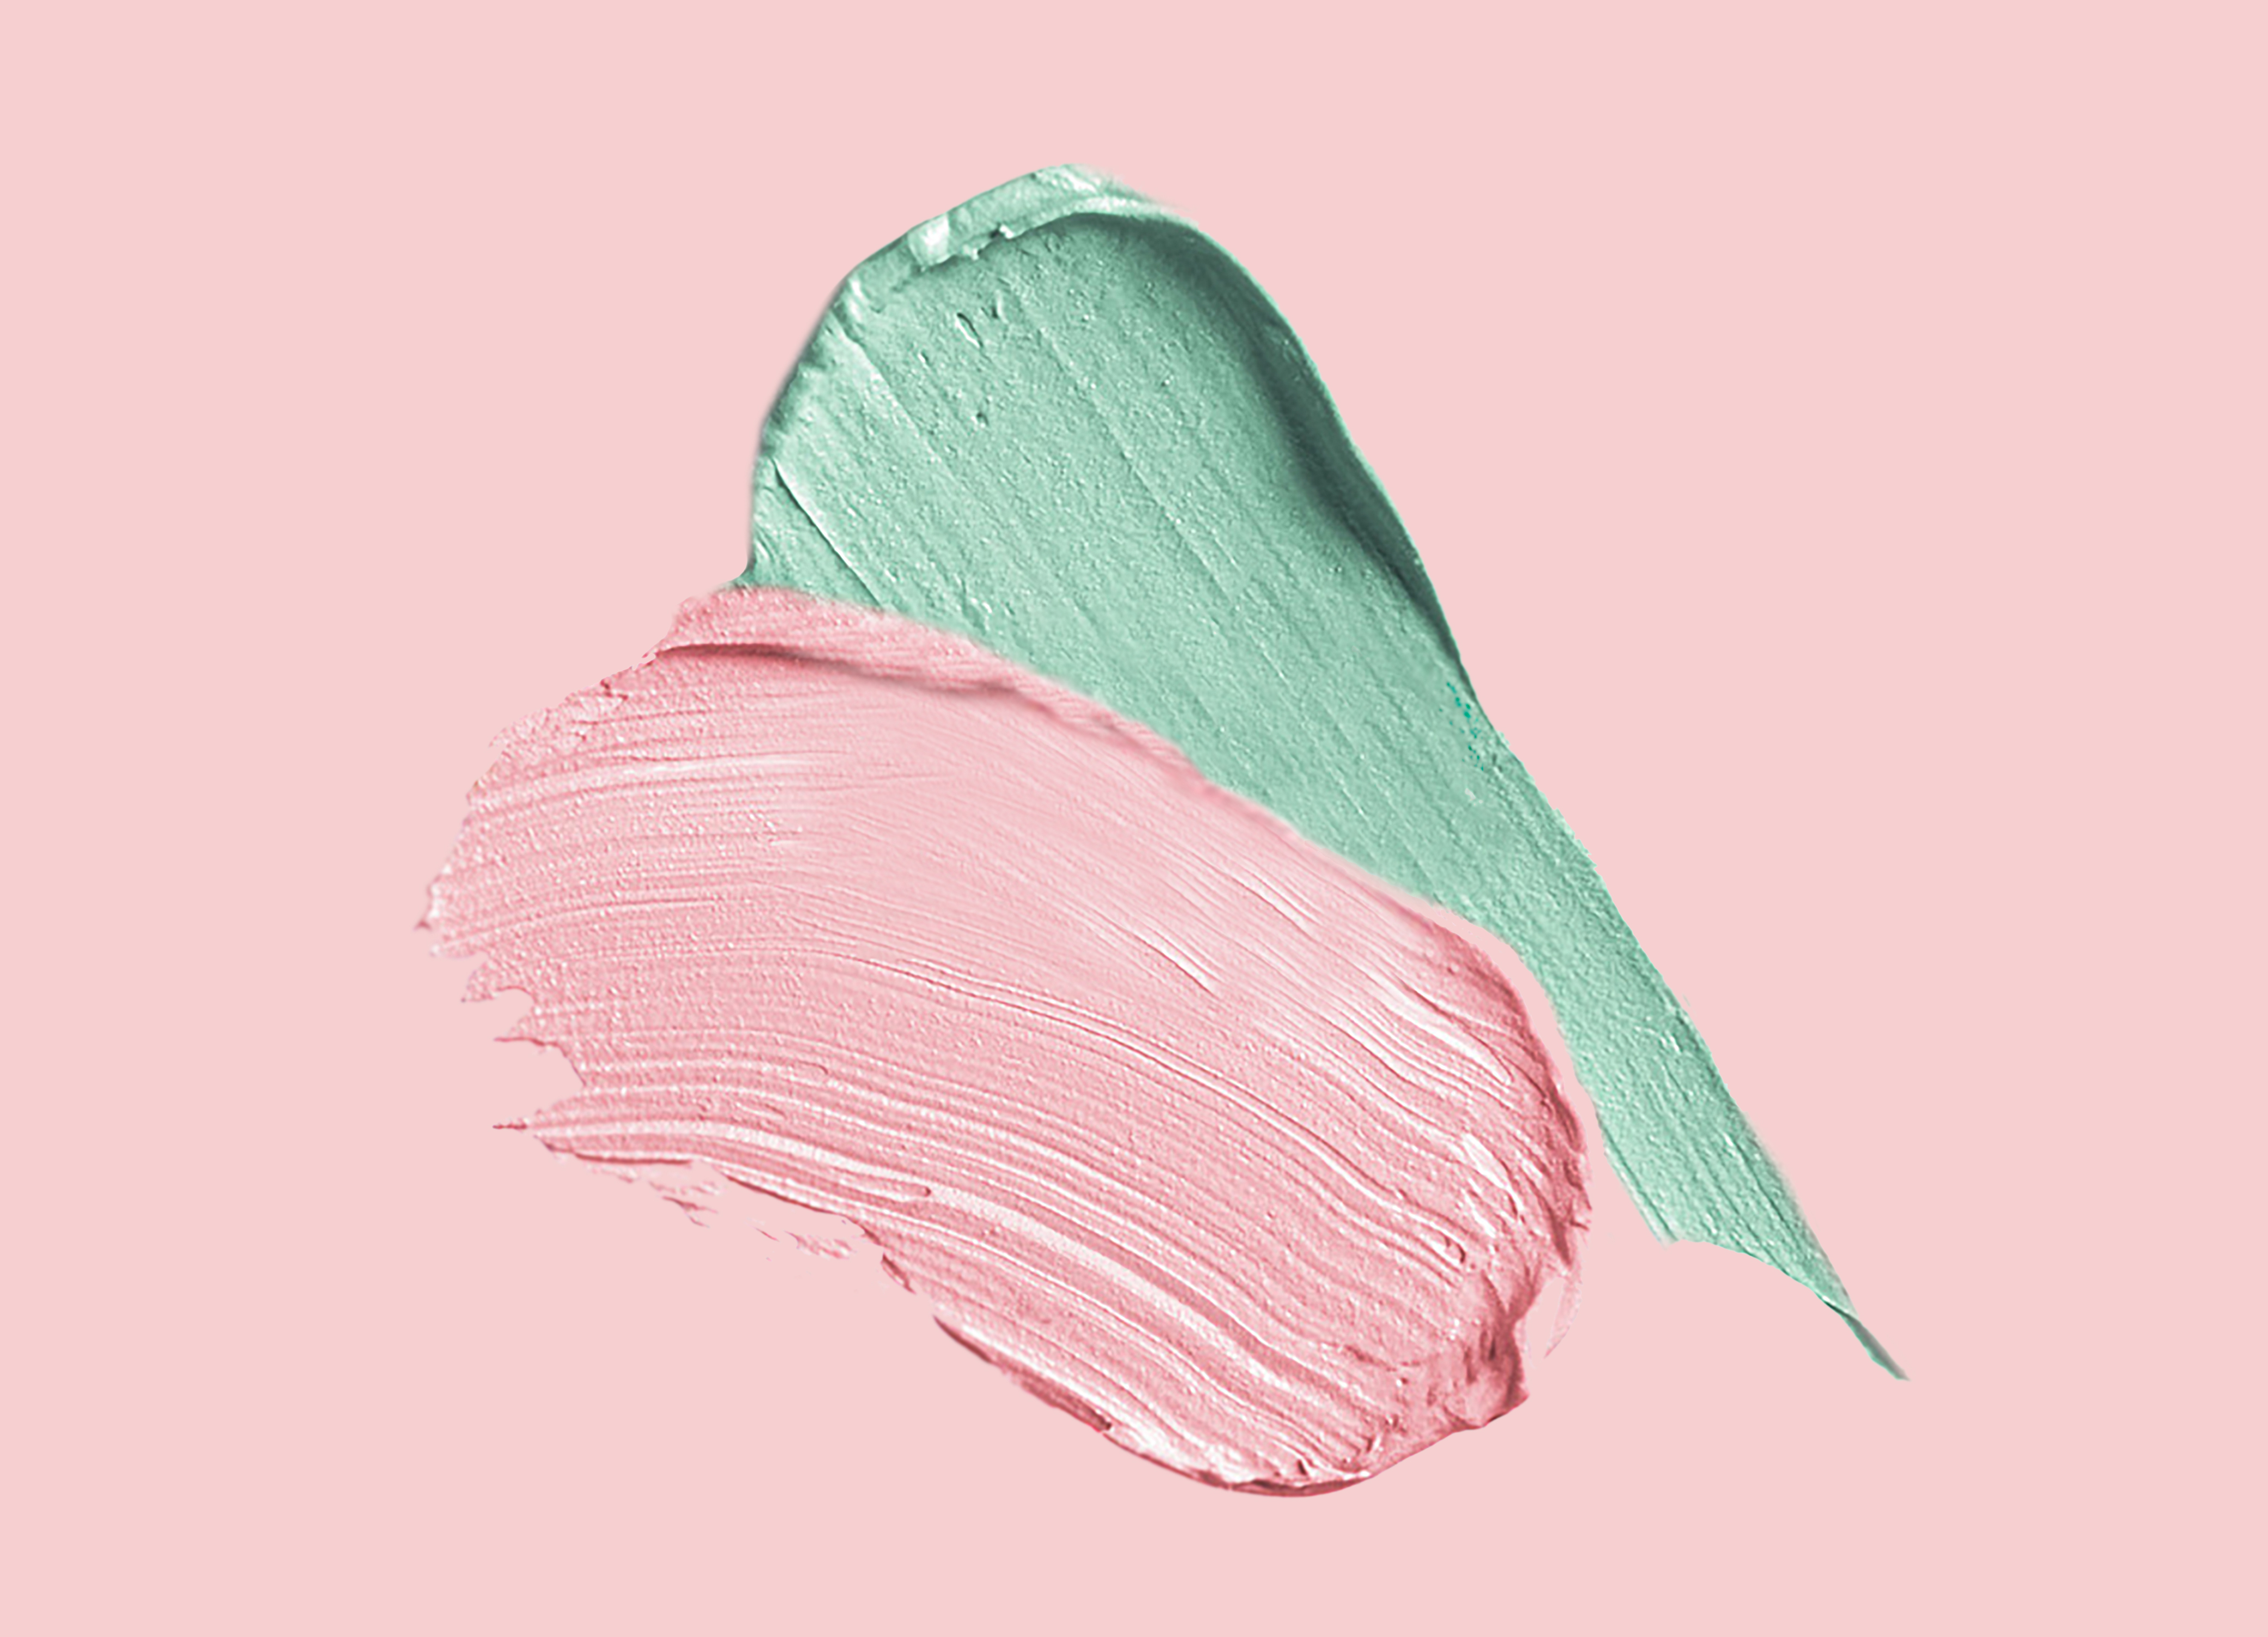
Basic Colours Used For Color Correcting And Their Uses
There are six basic colors that you will need to remember:
- Pale pink corrector- it helps in brightening the blue-toned spots on fair skin
- Peach – mainly used to neutralize the blue/purple shadows for medium skin tones
- Orangey pink – cancel out dark spots/ hyperpigmentation on dark skin tones
- Yellow-purple or darker-toned shadows can be blurred on olive or tan skin
- Green – neutralizes redness
- Lavender – cancels out yellow tones for lighter skin
Now that you have a basic idea, here is how to color-correct for various skin tones:
How To Color Correct For Fair Skin Tones
To cancel out the dark shadows under the eyes and around the mouth, the pale-pink concealer would be perfect. Also, you can use a pale-green concealer anywhere there is redness, in most people redness is observed around the nose and chin area. you can also use a lilac corrector to smooth areas that are yellow to neutralize the skin tone.
How To Color Correct For Medium Skin Tones
A medium-green color corrector can be used to take care of redness on the cheeks, around the nose, and chin. A lavender formula can be used to combat yellow tones on the jawline and forehead area. To conceal darkness or pigmentation, the pale-yellow shade would work perfectly.
How To Color Correct For Dark Skin Tones
A lavender concealer works best to cancel out the yellow tones on the skin, a light-green concealer can work well to hide redness, and finally, a deep-peach concealer (a life savior I must say) works magically to conceal dark spots, dark circles, and hyperpigmentation.
Dry Patches
One of the best ways to tackle dry patches is to moisturize. Even oily-skinned ladies out there must moisturize. I always underestimate the power of moisturizer but trust me guys incorporating this in your morning as well as night routine can bring a hell of a change in the nature of your skin. Always wait for the moisturizing to be fully absorbed by the skin before going into the next step.
If moisturizer doesn’t do the job for you, try using facial oil. Add two to three drops of facial oil to your palms (make sure they are clean) rub them together, warm them up and then massage them on your skin. Follow up with a dewy or satin finish foundation. Instead of using a brush try using a damp beauty blender. Set the foundation using a translucent power on in the oily areas, too much powder will enhance the appearance of dry patches. As a finishing touch, you can also use a hydrating setting spray, for that natural finish.
Rosacea
Whatever the skin condition is applying a layer of moisturizer and following up with a primer is mandatory. Try to get hold of the products according to your skin type and needs. Especially for irritated skin primer is important as this acts as a barrier between the makeup and the skin here avoiding the issue of irritation and clogged pores.
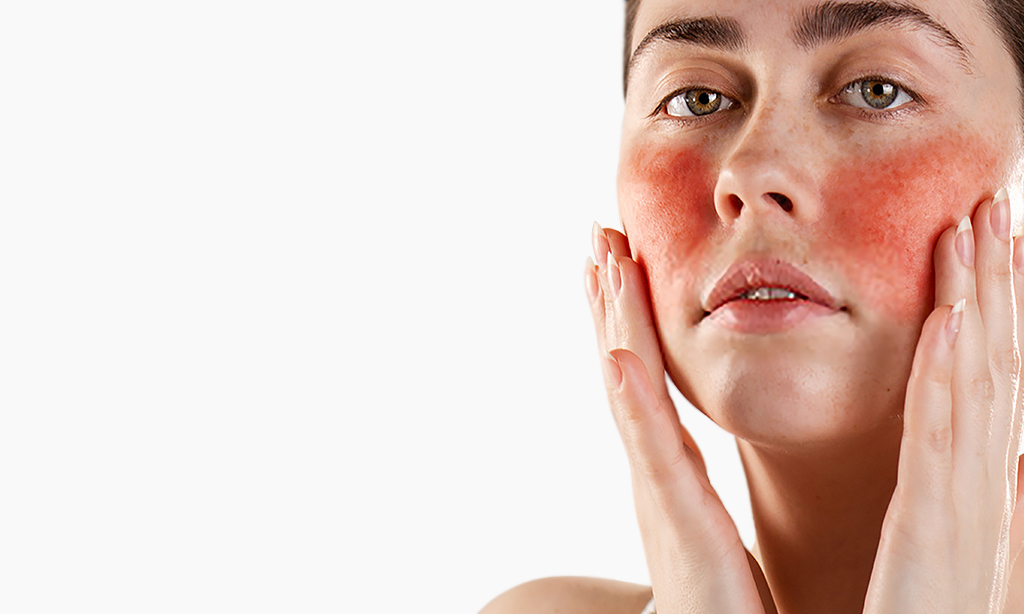
Use a yellow or green concealer on the redness, do not blend out the product all over your face, make sure you use a clean brush or sponge and press the product into the area instead of spreading it all over. Also, people with Rosacea need to make sure that they have a foundation that matches their skin tone perfectly.
Dark Circles
I have explained how to color-correct dark circles in the above section, apart from that the rules are the same. Start your makeup after properly prepping the skin with a moisturizer and primer. Apart from that, you can use an eye cream and pat it down lightly along the under-eye area using your ring finger going outward direction from the inner corner.

This little tip will take care of the visible lines and slightly plump the area. Also if you want to bring more brightness to the area try using reflection pigments, for example, Vitamin K. Then go over with an orange corrector in the inner corners of your eyes- try using a small flat brush. Go over with a slight yellow concealer to seal in the correction and even out the skin tone. Once you are done let it sit and then gently dab it with the ring finger. Finally finished off by baking (using a loose powder to set the real).
To keep the area intact make sure you don’t tag or pull on the area, doing this will bring out the wrinkles under the eyes.
So guys color correcting is a boon to most of us who binge on Netflix (am not saying it’s a good thing, sleep(4) is very important for a healthy body and mind). But in case we lose it and end up sitting up till 3 am watching our favorite tv program, getting your color-correcting technique right can save you the next day at work – no more walking into your office looking like a zombie, Yay! Once you have taken care of basic skin issues, the next step
Applying The Make Up The Right Way
When it comes to applying makeup like a pro, the rules need to be followed in the following order. So girls- concealer before or after foundation? You are in the right place. Let’s start in the order, I will also provide some of the cult favorite makeup products for you to choose from if you are just a beginner.
The Basic Pre-Makeup Prep:
What most people do is neglect the skincare prep before starting off with the makeup. Improper skin care can make your makeup look uneven and patchy no matter what technique and what kind of high blender you use.
I understand with so many bloggers following different kinds of trends and products skincare may look like a complicated piece of work that is hard to follow day and night. But really all one needs is a basic 3-step skincare routine using the right product for your skin.
Here is the very basic and simple skin prep routine anybody can follow.
Step 1: Cleansing
Start your day by cleansing your face with a gentle facial cleanser. The La Roche-Posay Hydrating Gentle Soap Free Cleanser, Cetaphil Gentle Skin Cleanser, TULA Purifying Face Cleanser, Glow Recipe Blueberry Bounce Gentle Cleanser, and Philosophy Purity Made Simple One-Step Facial Cleanser are some of my recommendations. You can try any of these depending on your skin type.
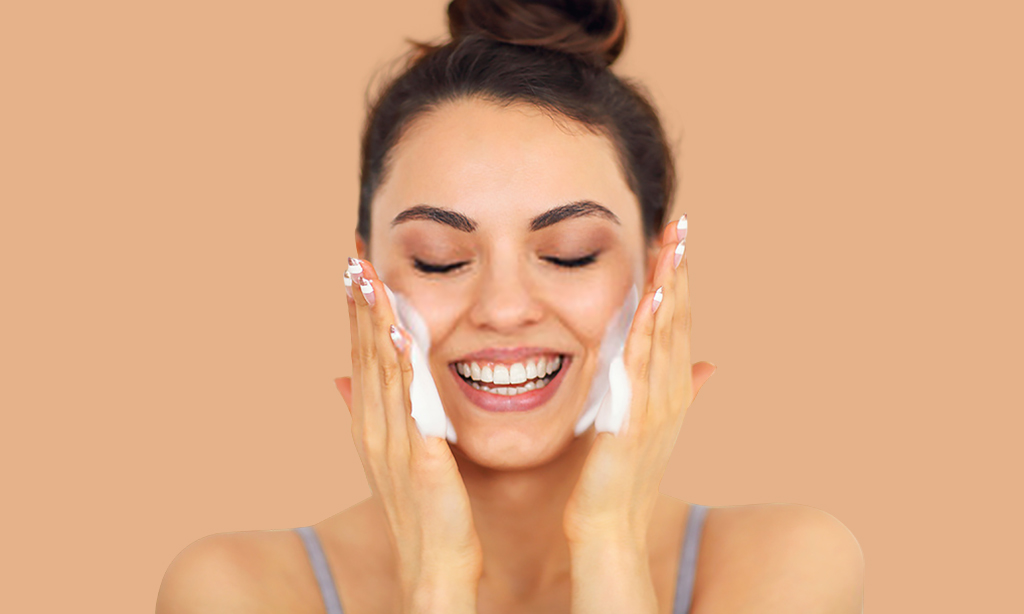
If you don’t want to use any clinical product all you need is besan flour. Mix a little bit of besan powder in your palms either with curd, rose water, or plain water, and gently massage it into the skin. Rinse off with normal water and pat dry. You are good to go for the next step.
Step 2: Scrubbing
If you have sensitive skin, scrub your skin only twice a week. But for daily skincare, you can use a mild scrub. Some of the products that are top-rated are, Dermalogica daily microfoliant, Burt’s bees citrus facial scrub, Neutrogena deep clean gentle scrub, St. Ives gentle apricot scrub, and Clinique exfoliating scrub.
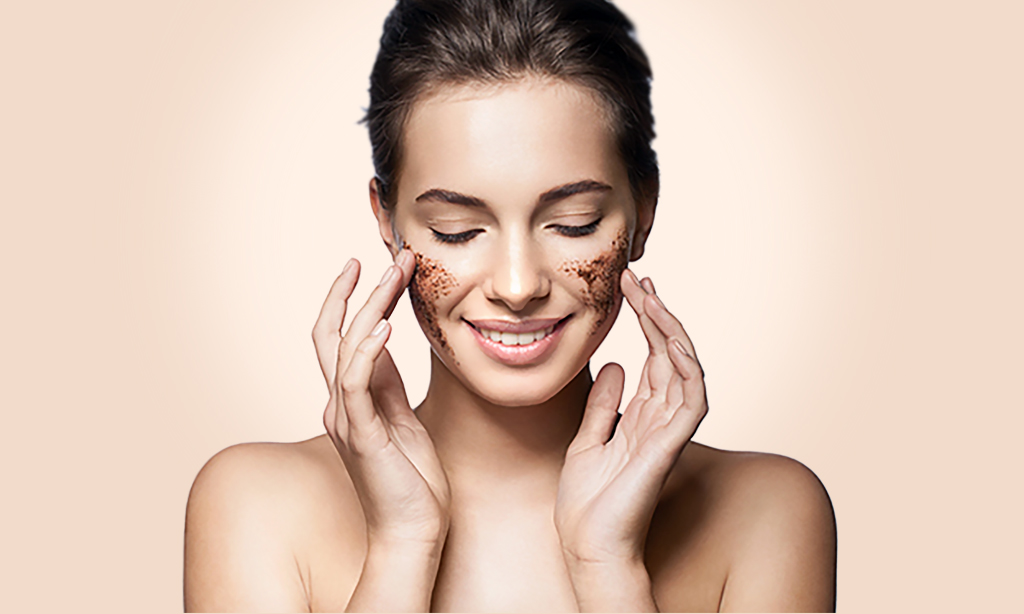
Take a pea-sized amount of the product in your palms and massage it into your face in an upward motion. Rinse off with normal water and pat dry.
Step 3: Moisturiser
Once you’re done with washing your face and exfoliating, next comes the moisturizer, which most people tend to skin. So hear me out oily skinned beauties out there- even your skin needs moisturizer. A non-sticky moisturizer creates an even and smooth base for the makeup. Some of the best moisturizer recommendations are Neutrogena Hydro Boost Water Gel, Cetaphil PRO Oil Absorbing Moisturizer, Olay CC Tone Correcting Moisturizer With Sunscreen, La Roche-Posay Effaclar Mat Sebo-Regulating Moisturizer, Plum Green Tea Mattifying Moisturizer, Neutrogena Visibly Clear Pink Grapefruit Oil-Free Moisturizer and saving for the last my personal favorite– Clinique Moisture Surge 72-Hour Auto-Replenishing Hydrator.
Now that your skin is all prepped and ready, let’s start with the makeup routine that everyone can follow- no more hassle on what comes first or what goes under here is a basic makeup routine that is versatile and can be used to create all kinds of makeup looks- from an everyday look to a high-end wedding look.
I will divide the how-to-do makeup into sections for better understanding:
Face Makeup
Step 1: Primer
Primer is the key to how long and how well-polished your makeup is going to look. Primers come in various forms such as cream-based, silicon-based, gel-based, etc. Since I have combination skin I personally use a silicon-based primer. Primer acts as a base for the skin to even out imperfections such as pores fine lines etc. Here are some of my primer recommendations- you can choose one as per your skin type.
Best primers: Benefit Professional Face Primer, Smashbox Photo Finish Foundation Primer, Maybelline Baby Skin Instant Pore Eraser, NYX Pore Filler Primer, and Maybelline Instant Age Rewind Primer Skin Transformer.
Step 2: Color Correct
The color corrector as I have mentioned above is what one has to perfect to get a flawless base. According to the skin problems you have to choose the right kind of color corrector. Refer to my above section on color correctors to understand the idea better.
Here are some of the best color correctors that I have personally tried and loved. L.A Girl HD Pro Conceal (affordable and my personal favorite), Maybelline FaceStudio Master Camo Color Correcting Kit, Tarte Wipeout Color-Correcting Palette, Urban Decay Naked Skin Color Correcting Fluids, MAC Studio Conceal & Correct Palette, Lancome Teint Idole Ultra Wear Camouflage Corrector, and the NYX Color Correcting Palette.
Step 3: Concealer
Concealer is important after color correction if the concealer is not done or blended well your color corrector can show through your foundation making you look uneven and patchy. whatever concealer you choose make sure it’s a shade lighter than your foundation and you blend it well using your finger or a beauty blender.
Make you don’t rub the product in when blending concealer gently press the product into your skin so that it settles down but does not turn transparent.
Some of my personal favorite concealers are the L. A Girl HD Pro, Tarte shape tape concealer, Maybelline fit me concealer, NARS Radiant Creamy Concealer, Fenty Beauty by Rihanna Pro Filter Instant Retouch Concealer, and the Maybelline Instant Age Rewind Eraser Dark Circles Treatment Concealer
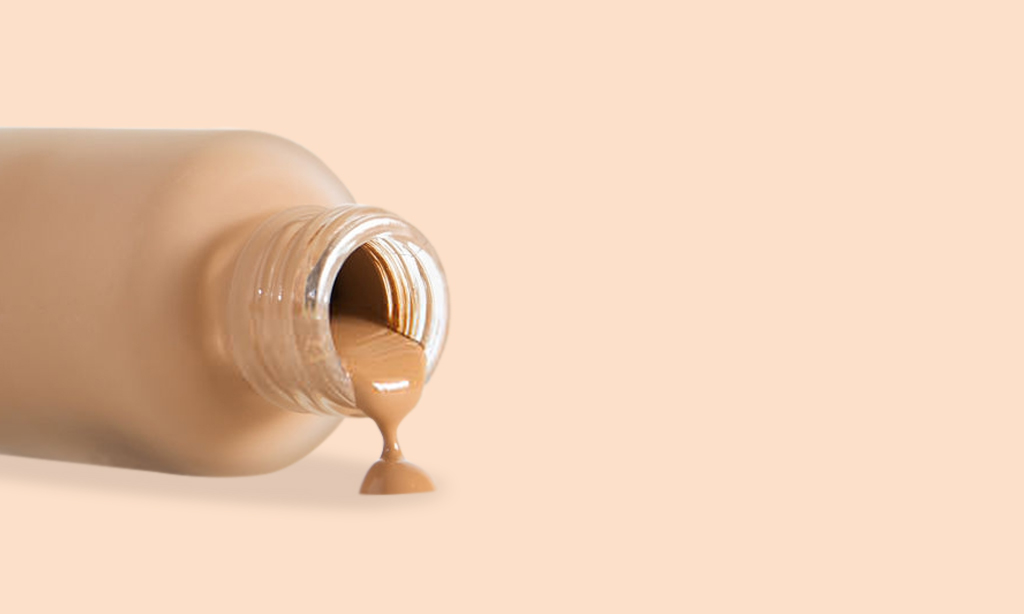
Step 4: Foundation
Foundation is not mandatory for an everyday look, but foundations can make a hell of a lot of difference to the skin texture. But guys, choose a foundation that is your exact skin shade( You can check online on steps to choose the right shade of foundation). Depending on what kind of look you are going for you can choose between light, medium, and heavy foundations.
For an everyday office look, a sheer lightweight water-based foundation is what I personally love. Also, choose the foundation depending on your skin type and shade. For example, if you have dry skin go for a satin finish foundation if you have oily skin use a matt finish foundation. Also depending on the consistency as well as the finish of the foundation use a brush or a beauty blender. If you are comfortable with your finger then that works well too.
Here are some of my favorites: Giorgio Armani Maestro Fusion Foundation SPF 15, Clinique Even Better Makeup SPF 15, Yves Saint Laurent Le Teint Touche Éclat Foundation, Fenty Beauty Pro Filt’r Soft Matte Longwear Foundation, Estée Lauder Double Wear Stay-In-Place Makeup SPF 10, Nars Natural Radiant Longwear Foundation, Mac studio fix, and the Maybelline fit me foundation.
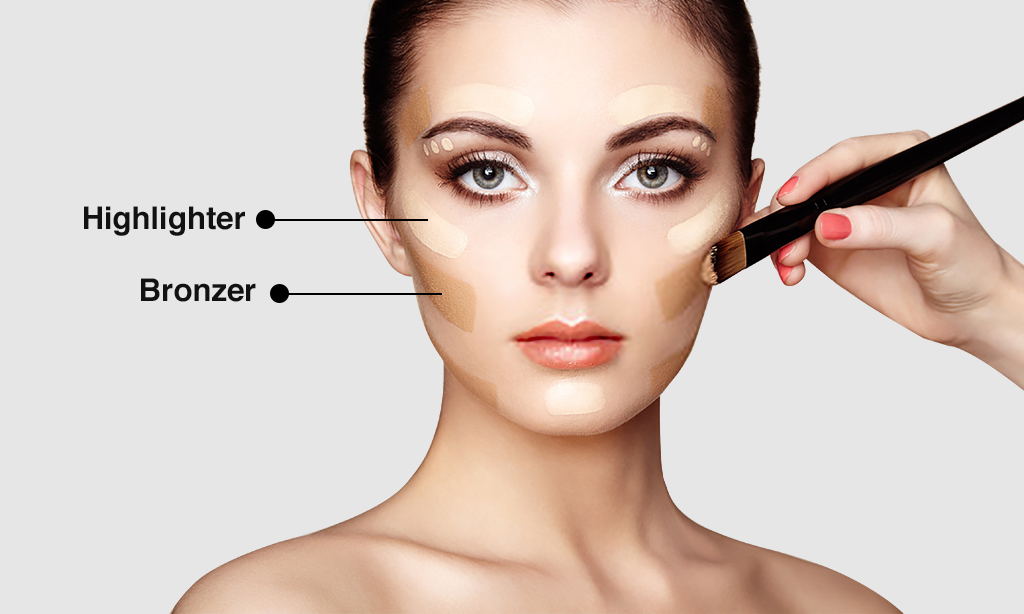
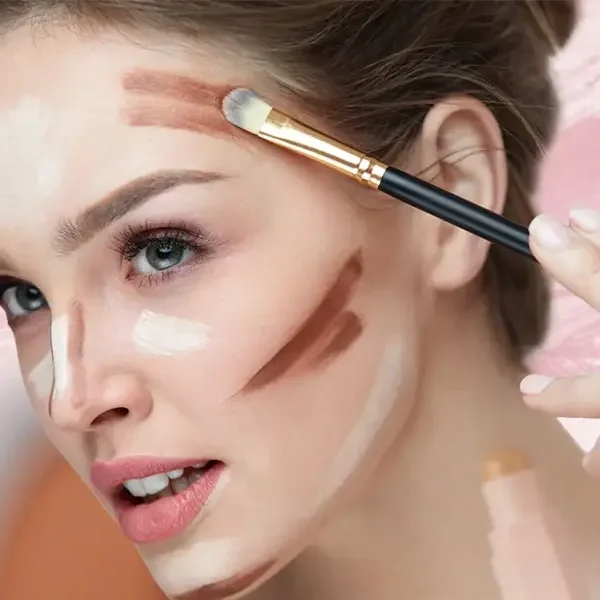
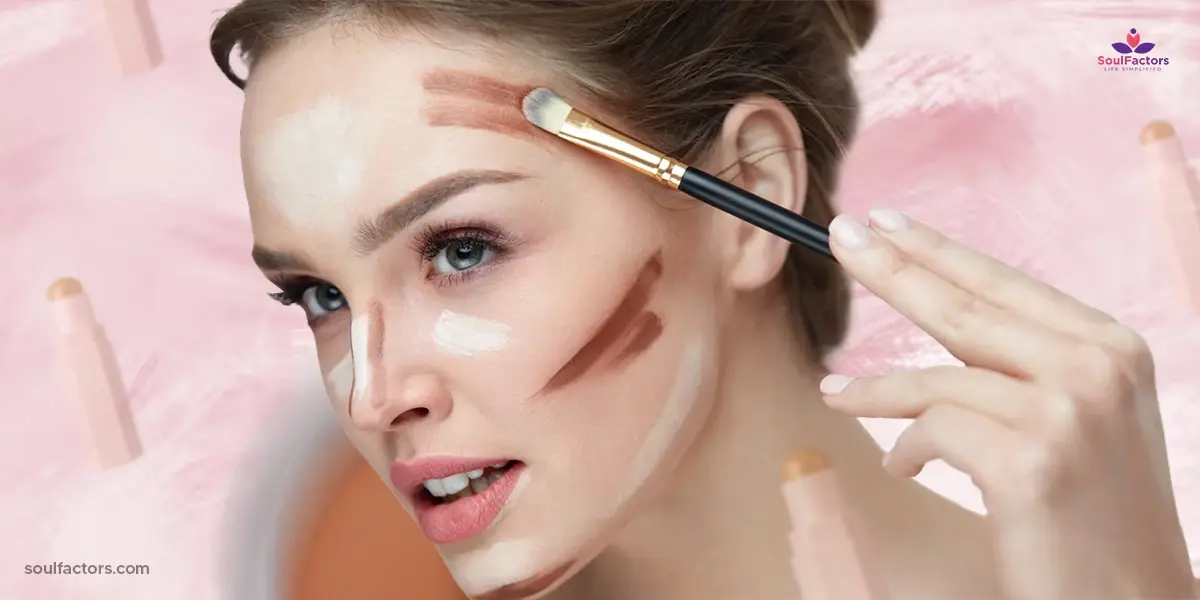
Step 5: Bronzer
Bronze your face on areas where the light would naturally hit your face, This will give a nice definition to the overall shape and appearance of the face. The below image will have the areas on the face which need to be bronzed.
Here are some of the best bronzers on the market: Benefit Hoola Bronzer, Chanel Bronze et Lumière Bronzer and Highlighter Duo, Charlotte Tilbury Filmstar Bronze & Glow, Nars Bronzing Powder in Laguna, Maybelline Face Studio City Bronze, Rimmel London Natural Bronzer and the Wet n’ Wild ColorIcon Bronzer
Step 6: Highlighter
The above image will show you the high points of the face that needs to be highlighted for that naturally glowy look.
Highlighters that I love personally: Maybelline New York Face Studio Master Chrome Metallic Highlighter, Miss Claire Baked Highlighter, Wet n Wild MegaGlo Highlighting Powder, Sugar Contour De Force Mini Highlighters, Huda Beauty 3D Highlighter Palette, theBalm Mary-Lou Manizer Highlighter, PAC Baked Highlighter, Benefit Cosmetics Liquid Highlighters and Maybelline New York Face Studio Master Strobing Cream.
Step 7: Blush
As you can see in the above image, depending on your preference you can apply the blush on the following points of your face. I usually apply the blush right on top of the apples of my cheek. This gives a very natural and subtle look to the overall appearance. Choose a blush depending on your skin tone and texture.

Some of the best blushers out there: Revlon Insta-Blush in Candy Kiss, Maybelline Fit Me Blush in Light Mauve, Neutrogena Healthy Skin Blends in Pure, Milani Rose Powder Blush in Romantic Rose, and the Bourjois Blush Cream.
Eye Makeup
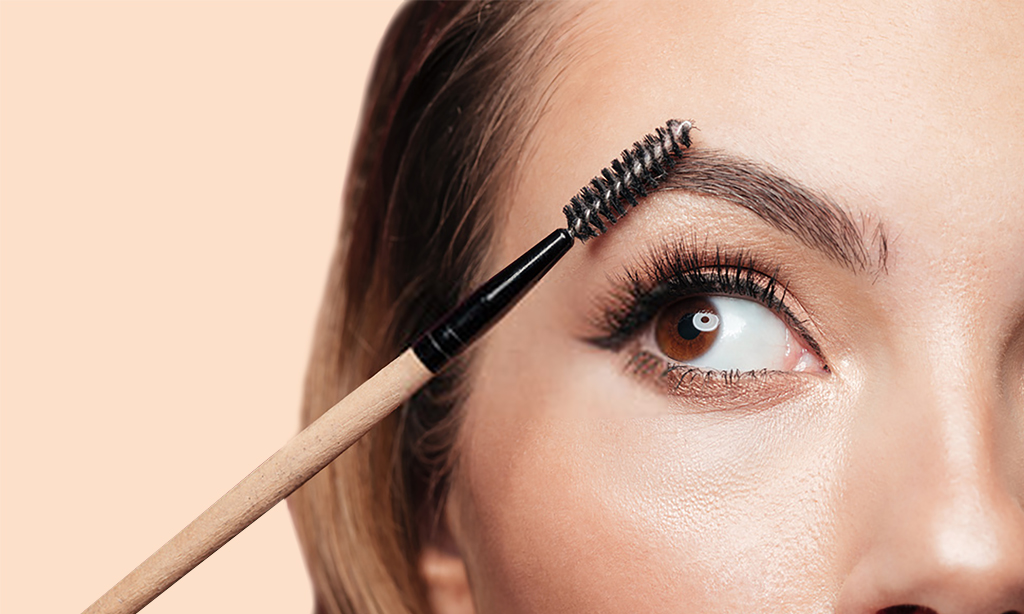
Step 1: Start With The Eyebrows
I prefer starting with the eyebrows since that will help in getting your eyeliner on point, especially if you are planning to do winged eyeliner. Start with lighter strokes in the inner ends and then gradually follow the hairline and fill the gap along the way for a well-groomed and natural look.
The eyebrow products I love are, benefit precisely, my brow eyebrow pencil, Maybelline New York Brow Precise® Micro Pencil, NYX Auto Eyebrow Pencil, and COVERGIRL Brow & Eye Makers Brow Shaper and Eyeliner
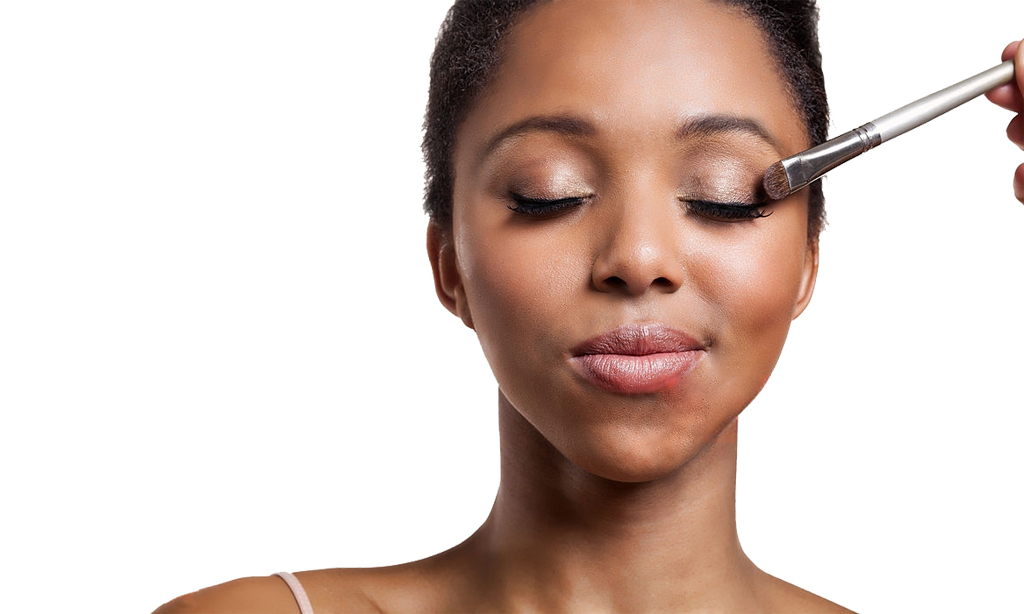
Step 2: Eye Shadow
When applying eye shadow start off by, dusting a base color onto your eyelids, choosing a darker color to apply along the crease of your eyes, and a shimmery pop of color on the inner corner. Choose neutral colors for the daytime and dark shimmery colors for the night.
Here are some of my favorite eyeshadow palettes: Maybelline Total Temptation Eyeshadow + Highlight Palette, Wet n Wild Color Icon Eyeshadow 10-Pan Palette, E.l.f. Mad for Matte Eyeshadow Palette and the NYX Swear By It Shadow Palette
Step 3: Eyeliner
Wearing a liner is not mandatory but lining your upper waterline can help to bring out your eyes. This method is known as tight lining. Or if you are going for a full bold look completely line your eyes, especially smudging out the outer corner for an effortless look.
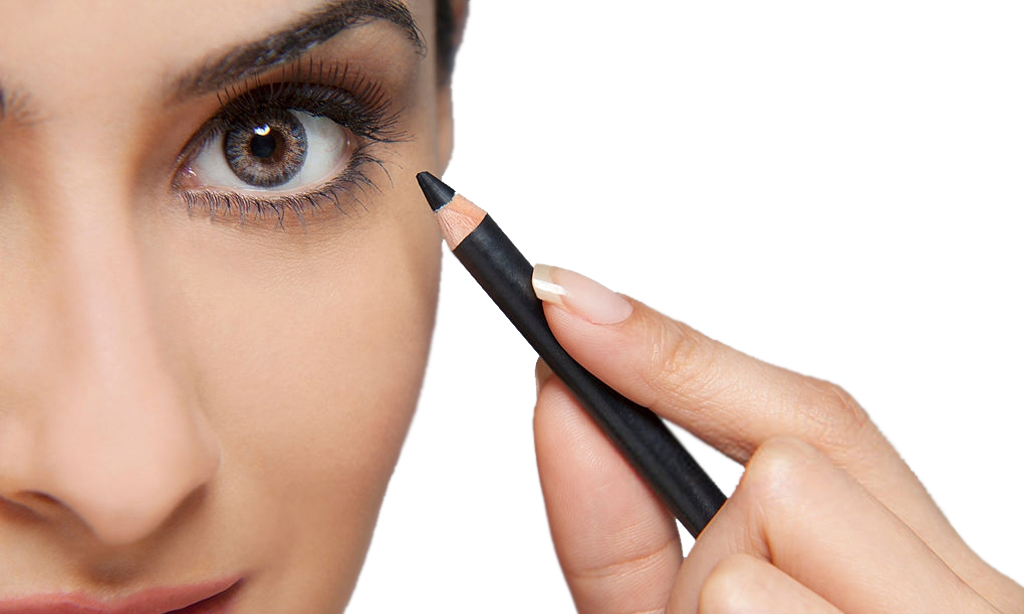
Here are some of the best kohl pencils in the market: L’Oréal Paris Makeup Infallible Never Fail Pencil Eyeliner, Milani Eye Tech Extreme Liquid Eyeliner, NYX Professional Makeup Epic Ink Liner, Maybelline Eyestudio Lasting Drama Gel Eye Liner, Maybelline New York Colossal Kajal Super Black, Plum Natur Studio All-Day-Wear Kohl Kajal and the Lakme Eyeconic Kajal
Step 4: Mascara
Mascara is personally my favorite eye product which I always carry with me.
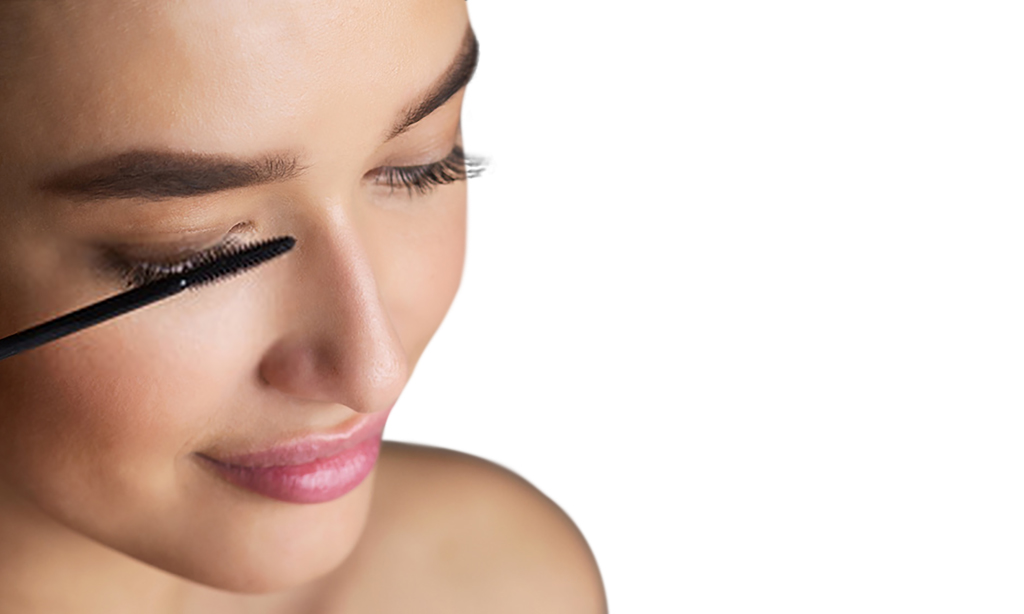
For a natural everyday look, all I do is coat some mascara after curling my eyelashes and there I am good to go. You can choose either waterproof or normal, mascara depending on your needs.
Lip Makeup
Lips are an important part of a face which when done well can brighten up and make the face instantly pop up.
Step 1: Lip Liner
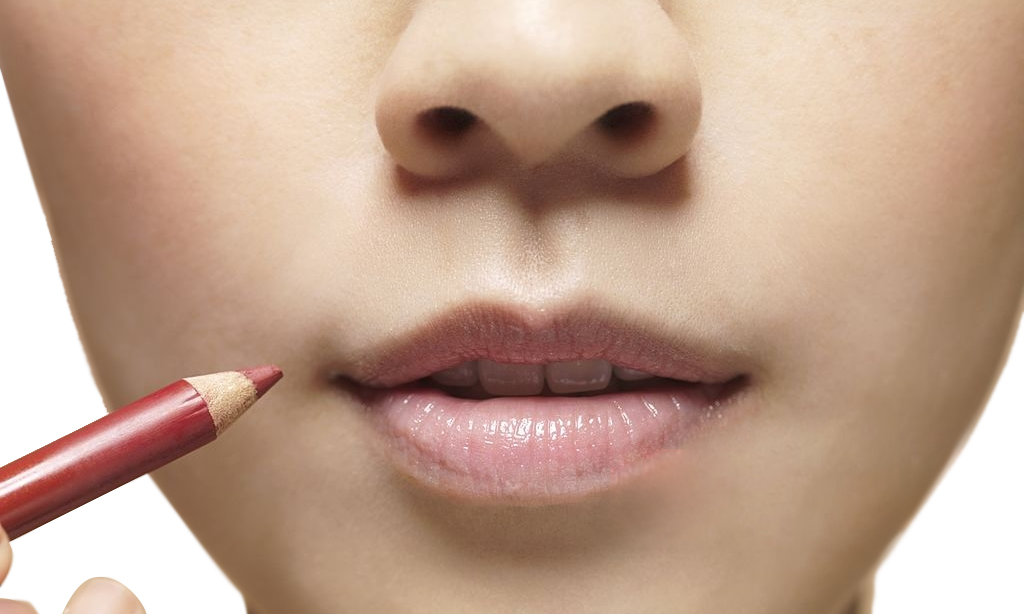
Start by prepping the lip with a nice moisturizing lip balm. Then take a lip liner of your choice and line the outer corner of your lips, once you are done shade the whole lips lightly with the liner, this will help the lips look well-groomed even when the lipstick fades. A lip liner can also help with the lip color from bleeding out. I don’t have any specific favorites when it comes to lip lines- just make sure you get one that’s creamy so that the line can go on smoothly.
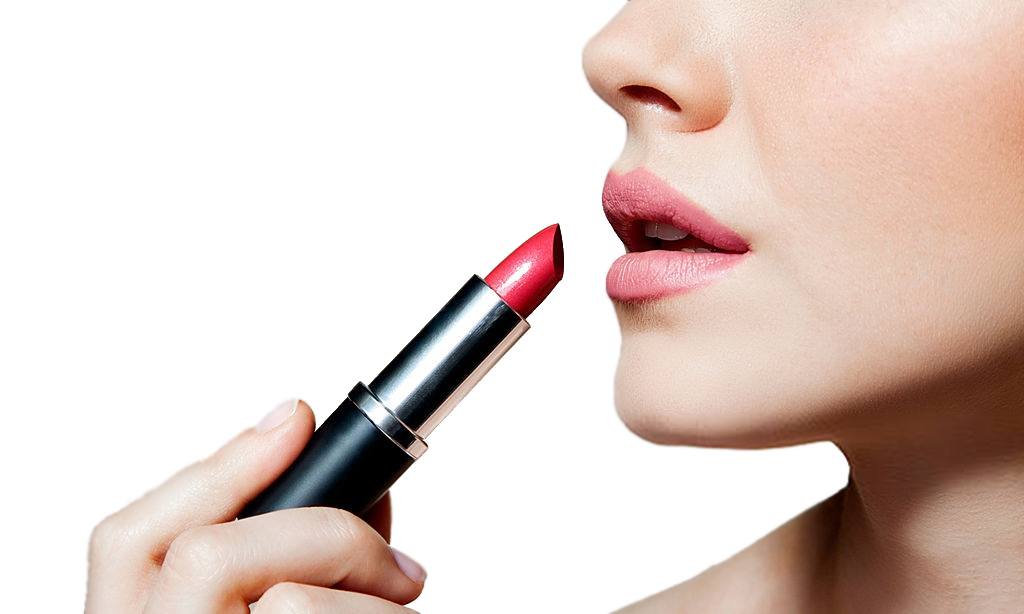
Step 2: Lipstick
Once you are done lining then swipe on your lipstick shade of choice. Here again, lipsticks come in different formulas like sheer, matt, satin, semi-matt, liquid lipstick, etc. I love semi-matte lipstick.
Some of my favorite lipstick brands are Maybelline, mac, bobby brown, sugar cosmetics, etc.
Finally to set your makeup spray a coat o setting spray on your face. You can use Urban Decay All Nighter Setting Spray, Maybelline Superstay 24 Makeup-Locking Setting Spray, L.A. Girl PRO High Definition Matte Finish Setting Spray, MAC Prep & Prime Fix + Makeup Setting Spray, or the Pixi By Petra Makeup Fixing Mist.
Now it’s very important to remove the makeup at the end of the day. People sometimes find removing makeup a tough task and skip it. This could be the worst you are doing to your skin. Clogged pores, pimples, acne. The problems of sleeping with a face full of makeup are endless.
Remove your makeup using a good makeup remover for my favorite- micellar water. Before wrapping up, here’s how you can achieve the latest and celebrity favorite
No Makeup Glow

Touch Base
After doing the basic CTM routine, switch your regular foundation to a tinted moisturizer. Apply it on the face along with a few drops of glow-boosting oil. Now use a concealer and blur out all the imperfections. This is the perfect base for the natural no make-up makeup look. And you can simply say, I woke up looking like this.
Glow Away But Not Like A Disco Ball
Invest in a strobing stick with a flushed undertone or simply a creamy and blendable liquid highlighter. Apply a very small amount on your temples, cheekbones, bridge of the nose, and cupid’s bow, and if you want to bring it up a notch apply some on your chin and collar bones too. There you go that just took down a few numbers from your age.
It’s All About The Brows
Perfectly groomed brows that frame your face perfectly and pull your features into focus are better is more natural than what a botox filler can do to you. But if you don’t have that naturally sculpted eyebrow (except Lily Collins most of us don’t) invest in a good eyebrow product with a very fine tip and a spoolie. Now gently give your brows a few very fine strokes following their natural shape. Fill in the bare spots, now just blend it all in with the spoolie.
Bare Eyes
Kohl-lined eyes are killer, but for this article look less is always more. Here you will need a nude eye pencil and solid mascara. Now don’t hold back just coat your lashes with mascara and dab the inner corners with the nude pencil to give a fresh and bright look to your eyes.
Here are some product recommendations: Kiko Milano Smart Colour Mascara, Wet n Wild Color Icon Kohl Liner Pencil – Calling Your Buff!
Lips That Look And Feel Yum
Ok leave your reds and bolds on the shelf and grab your concealer (if you have discolored lips), a muted lip stain, and a balm. To apply the concealer dab some on your lips using your ring finger focusing specifically on the center of the lips. Now apply the nude lipstick, that’s it, you are good to go.
Here are some product recommendations: Inglot HD Lip Tint Matte – 32, Innisfree Canola Honey Lip Balm – Deep Moisture
If you master these no-makeup tricks and find the right products for your skin, you will have people wondering, “ Is she or is she not??”
I hope you guys enjoyed as well as learned the basics of face makeup from the article. Let me know your views and suggestions, I will be happy to improvise and also help you guys out.

Subscribe to Newsletter
Elevate your routine, stay on trend, and embrace a personalized beauty journey with our curated insights.


Aashika is a makeup and beauty expert known for creating stunning looks that not only accentuate facial features but also empower women to feel confident in their skin.
Reviewer name
Reviewer bio

Write a Comment