
How To Paint Nails Like A Pro: A Step-by-Step Tutorial!
Do you want gorgeous nails? With practice and our quick hacks, you can learn how to paint nails like a pro.
On Feb 11, 2023 – 10 minutes read

Experiencing a professional manicure reveals the stark contrast between the expertise of a nail pro and a DIY attempt. Nail technicians excel in nail care and polish application, providing a smooth, glossy, and enduring finish. Learning how to paint nails like a pro can bridge this gap, minimizing dents, globs, and accidental spills associated with at-home manicures.
How To Paint Nails Like A Pro?
Similar to mastering skills like curling your own hair or driving a car, learning how to paint your nails like a pro is essential. This skill not only offers convenience but also helps save money. Our tips and hacks extend beyond basic nail painting, empowering beginners to learn how to paint their nails perfectly at home. These techniques not only cover basic nail painting but also help you execute intricate nail art, maintain clean cuticles, and achieve flawless French manicures—all from the comfort of your home, without the need for salon visits.

1. Select A Good Nail Polish
All nail polishes aren’t created equally, and the color isn’t the only aspect to focus on. Search for high-quality brands, typically the ones used in nail salons. Use 3-free or B3F nail polish and base/top coat. They are free from DBP, toluene, or formaldehyde and, therefore, safer than the polishes that contain these chemicals.
To ensure your nails are painted like a pro at home, start by checking the condition of your nail polish. If it’s old, verify if it’s still usable. Give it a few gentle rolls; if it remains separated and doesn’t blend, it’s time to discard it. Using dried-out nail polish can lead to blotchy and uneven results, which won’t achieve the desired professional look.
2. File And Buff Your Nails
Start by thoroughly washing your hands and nails. Then, shape your nails using a nail file and buffer. Remember to move the nail file in one direction, from the corner toward the center, as advised in the guide on how to paint nails like a pro. Avoid dragging it back and forth across the nails, as this can lead to splintering and damage to your nail tips.
Most people skip buffing, but if you want a salon-quality manicure, always buff your nails. It increases circulation to the nail beds and creates a smoother surface to apply polish. Moreover, it makes nails look brighter and more youthful and eliminates ridges.
3. Always Apply A Base And Top Coat
Professional nail artists don’t skip this step, and neither should you. If there is any oil or residue on your fingernails, it can cause the polish to peel or chip. Thus, if you want to learn how to paint your nails perfectly for beginners, remember a solid base is a must. A base coat protects your nails and cuticles from splitting, breaking, peeling, and other common problems.
A high-quality top coat serves multiple purposes: it prevents chipping, seals in the color, and adds a glossy finish for a polished look. Opt for a fast-drying, shiny topcoat to ensure your polish lasts longer and dries quickly, allowing you to continue with your day without worrying about smudges.
4. Create A Defined Outline Around The Nail Cuticles With A Fine-tip Brush
Here’s a professional tip for achieving neat nail painting around the cuticle: Dip a clean, fine-tip brush or your eyeliner brush into acetone polish remover and carefully create a defined outline around the cuticle. This technique helps repel any stray polish away from the skin, resulting in a polished and professional appearance. After painting your nails, apply lotion or oil to replenish moisture in your cuticles.
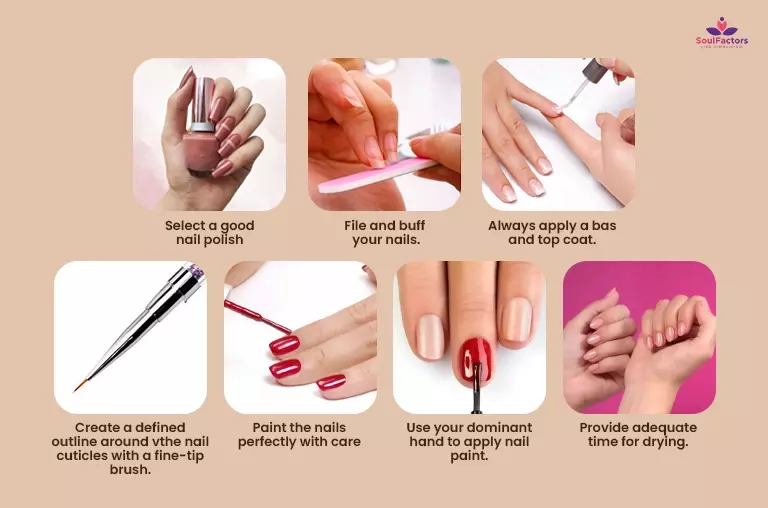
5. Paint The Nails Perfectly With Care
The next step in learning how to paint nails like a pro is to roll the closed nail polish bottle between your palms for 15 to 20 seconds before opening it. This gentle mixing ensures even consistency without creating bubbles, unlike shaking, which can disrupt the polish. Afterward, when you pull out the brush, wipe one side clean by gently running it along the bottle’s neck. Remove any excess polish from the other side of the brush as well before applying. To paint nails without getting polish on the skin, apply a thin layer of petroleum jelly or liquid latex around the cuticles before painting. This acts as a barrier, making cleanup easier.
Employ the three-stroke application technique favored by professionals. Start from the cuticle and smoothly glide the brush across the center of the nail in one stroke. Then, repeat this motion just above the cuticle, sweeping over the left side of the nail, followed by the right side. This method ensures an even coat across the entire nail surface without applying excessive nail polish in one go.
Allow each coat to fully dry before applying the next one. If desired, enhance the color richness by adding one or two additional coats for an even finish. Using Vaseline before painting your nails is a smart trick. Petroleum jelly acts as a barrier by sitting atop your skin, creating a slippery surface that repels stray polish. This simple concept helps prevent polish from getting onto your skin, minimizing the need for cleanup with nail polish remover on freshly painted nails.
6. Use Your Dominant Hand To Apply Nail Paint
An often encountered hurdle for beginners is painting nails with their non-dominant hand. For example, if you’re right-handed, applying polish with your left hand can be challenging and may result in polish getting on your skin due to instability. To avoid this, it’s crucial to learn a technique for painting nails without staining the skin. Rather than relying solely on your weaker hand, try keeping your dominant hand steady by placing it flat and rotating it as you progress along the nails.
7. Provide Adequate Time For Drying
In addition to applying each coat with care, allow your nails to completely dry before proceeding with your daily routine. The drying time depends on factors such as the type of polish used and the number of coats applied. Typically, you can expect to wait around 20 minutes for the color to set. To further strengthen your nails, consider using strengthening nail polish or applying a nail strengthening treatment as part of your nail care routine.
How To Paint Nails With Gel Polish?
After you learn how to paint nails like a pro, you must also practice the art of painting gel nails. Follow the same steps of filing and buffing your nails. Prepare the cuticles by applying cuticle oil. Apply the oil on the skin surrounding the nails also for added nourishment. Clean your nails and apply a layer of the base coat. In the next step, instead of regular nail polish, apply gel polish.
Before applying gel polish, give it a gentle shake to ensure proper mixing of the formula. Apply a thin layer from the cuticle to the tip, being careful not to get it on the skin. Aim to keep the gel polish as close to the cuticle as possible. Since you’re still learning how to paint nails like a pro, mistakes are common. If you make any, quickly wipe off any stray polish before curing to prevent it from drying and becoming more difficult to remove later on.
Gel nail polish application requires many tools. Most of them will already be available in your at-home nail polish kit. One vital addition for the smooth application of gel nail polish is the UV/LED curing lamp. It helps you get immaculate gel nails.
Curing is the term used to describe the drying process of gel nails. During curing, a light source triggers a chemical reaction that rapidly dries the nails, preventing smudging or chipping right after application. Utilizing a UV/LED lamp for curing is a fascinating aspect of the gel manicure process.
To achieve a flawless manicure at home, it’s essential to apply two coats of color. Additional coats result in a more opaque finish. Don’t fret if the first coat appears streaky; you can achieve a neat and smooth finish by applying thin layers instead of thick, uneven ones. This technique is crucial for learning how to paint nails perfectly at home.
Between each coat, cure your polish. Keep your nails under the lamp for around 30 seconds each. Seal the gel polish with a top coat after you have applied the nail color to your liking. A top coat gives your nails a characteristic shine.
After applying the top coat, cure your nails one last time to ensure they are perfectly sealed and dried.
How To Paint Nails Like A Pro – Tips And Tricks
- Clean your nails with a good quality polish remover.
To achieve a fantastic manicure at home, dedicate ample time to preparing your nails before applying polish. Begin by saturating a cotton ball with polish remover and gently wiping your nails, even if there’s no polish present. This step effectively eliminates any dirt or oils that could compromise the quality of your polish application.
- Use eyeliner brushes as erasers.
The best hack on how to paint nails like a pro is using a flat liner brush dipped in remover and striking it around the cuticle after you’ve applied the polish.
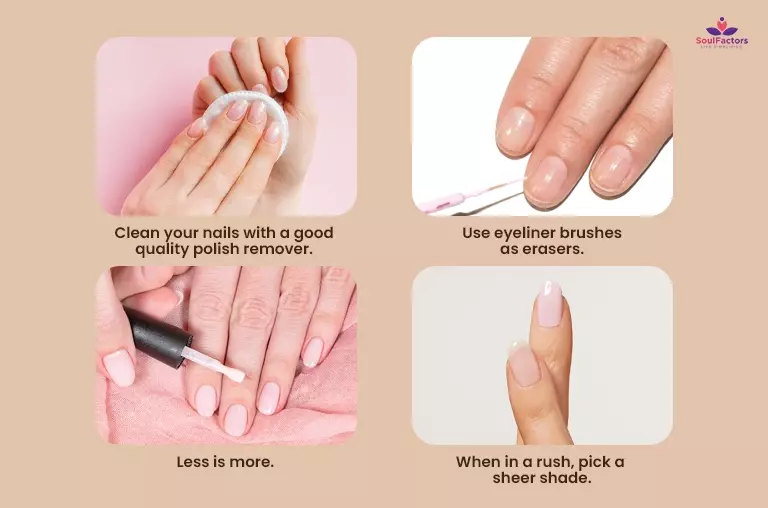
- Less is more.
When painting nails neatly, it’s common to overload the brush and apply too many strokes. The trick to achieving tidy nails is to ensure you take just the right amount of polish on the brush to cover the nail adequately in a single coat. This technique is essential for mastering how to paint nails neatly.
- When in a rush, pick a sheer shade.
A sheer shade is ideal if you’re in a hurry. It can give your nails a new life in just one coat. However, if you’re applying a full-on color, stick to the basics – a base coat, two coats of polish, and a top coat.
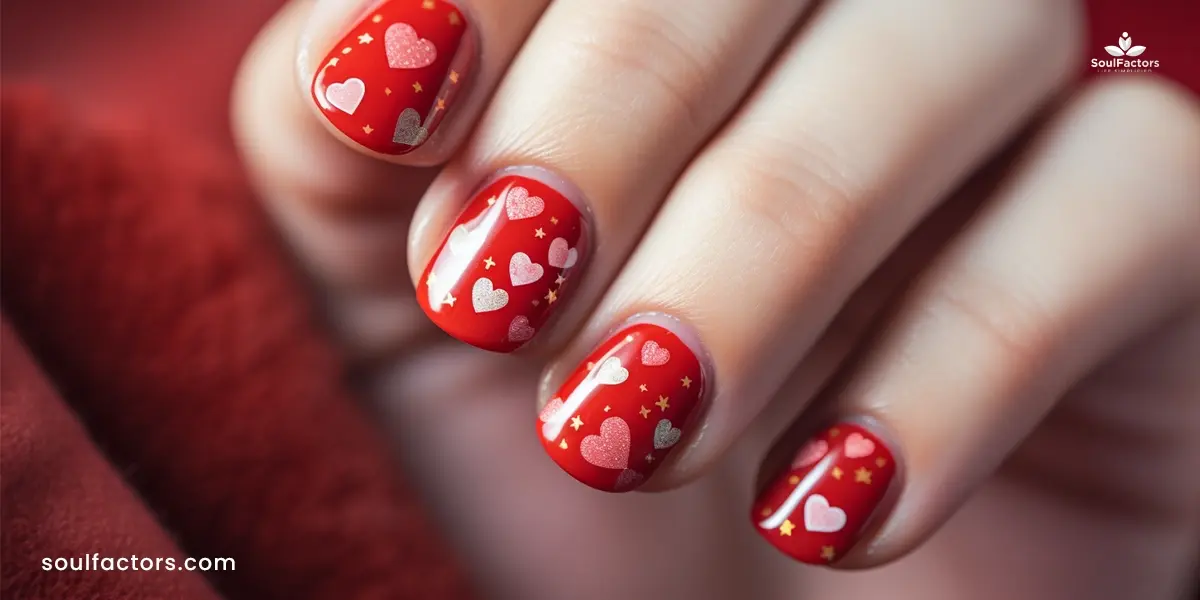
How To Paint Nails Like A Pro With Designs?
Nail art can complement your outfit or add a unique touch to your personality. Many don’t know how to paint nails like a pro. Thus, when it comes to adding designs, they prefer to leave it to the professionals. We provide some interesting designs beginners can create themselves.
1. Add A Sticker Or Jewel
To paint nails neatly around the cuticle, first apply a base coat. Then, drop a dab of nail gel or glue onto the nail. Using a pair of tweezers, carefully pick up the sticker or jewel and place it onto the glue or gel, ensuring it’s positioned neatly around the cuticle area. Seal it with a top coat to secure the jewel or sticker in place and achieve a clean, professional-looking finish.
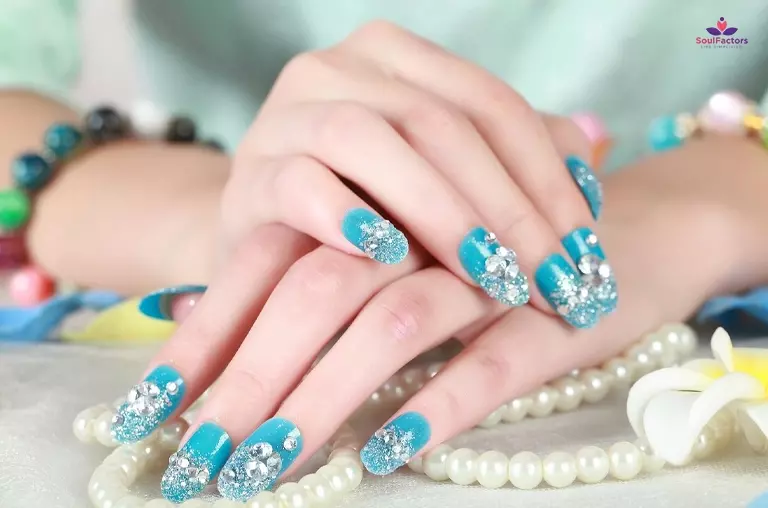
2. Explore A Glitter Effect
Create a blend of clear polish or nail gel mixed with loose glitter. Once the application has dried, apply a top coat for added protection. Alternatively, you can sprinkle glitter onto your nails after applying one or more coats of nail polish or gel polish.
3. Create Polka Dots
Pick two colors – one for the base and one for the dots. Apply a base coat and leave it to dry completely. Use a pin, toothpick, or small brush to create dots of the other color.
How To Paint Your Nail Tips In A Different Color?
Numerous designs and styles allow for creative nail painting. A quick and easy option is to paint the tips of your nails in a contrasting color. Start by applying a base color to all nails. Then, place a piece of tape near the top of each nail, leaving the tip exposed. Fill in the exposed tip with a darker or contrasting color. Once it dries slightly, carefully remove the tape. For a classic French manicure appearance, paint the tips white instead. Remember to follow proper aftercare to maintain your manicure‘s longevity and keep your nails healthy.
Frequently Asked Questions
Most women apply nail paint simply after cutting and filing nails. To paint your nails at home like a pro, make sure you also add the steps of buffing your nails, using cuticle oil, layering Vaseline on the skin, applying a base coat, following the 3-stroke technique of nail polish application, and sealing with a top coat.
Pick a high-quality nail polish and use the brush that comes with it for application. After applying a few coats, take a small brush, like an old lip brush, dipped in nail polish remover, to erase any mistakes you make.
Professionals use the 3-stroke application technique for a smooth and perfect look. The three strokes include one for the middle and one on either side.
Absolutely! Dip a Q-tip in Vaseline and use it to line your cuticles. The petroleum jelly acts as a barrier between your nail and skin, allowing you to wipe away mistakes when you’re finished.
Final Verdict
All women love having flawless nails. But only if you know how to paint nails like a pro can you get that salon look at home. Years of trial and error help one learn how to paint nails like a pro. Remember to follow all the steps of cleaning, shaping, and preparing your nails and your nail polish before beginning to apply.

Subscribe to Newsletter
Elevate your routine, stay on trend, and embrace a personalized beauty journey with our curated insights.


Gayatri is a writer who specializes in hair care, styling tips, skincare routines and latest health trends. Her expertise comes from professional training, extensive research, and a continuous quest for the latest trends and innovations. I believe that beauty and well-being are interconnected, and I aim to provide readers with holistic advice
Reviewer name
Reviewer bio


Write a Comment