
How To Do Professional Pedicure At Home? Prep & Primp Your Sore Feet!
Have you ever attempted to do pedicures? Be it to cut expenses or to simply give it a shot, pedicure is a great way to spend time in self-care.
On Mar 24, 2023 – 10 minutes read
Hours spent at a spa for a pedicure are the golden hours of that day, especially on work-loaded tiring days. But not the money that goes out of the wallet. A weekly spa sounds like an unwanted expense even if it sounds therapeutic and relaxing. What if you can do a professional pedicure at home?
Come to think of it, who doesn’t like their feet getting massaged and rubbed? I would love to get them pampered [once a month at least] by the hands of a pro. Unfortunately, not everyone has the budget to treat their feet with relaxed prep and primp because of the stack of bills that are due.
How To Do Professional Pedicure At Home?
What if I tell you that you can do magical work at home by yourself? A pedicure is one of the few beauty treatments that can be done at home without needing extra funds. An affordable yet luxurious gift to pamper your sore feet in the easiest simplest steps! It won’t take more than half an hour. Let me guide you step by step on how to do professional pedicures at home with a spa-qualified result. Keep scrolling!

Perfect At-Home Professional Pedicure Steps
Before going down with the steps, gather the supplies you need to get your professional pedicure at home. While all of these are not essential and a few are optional, keep these in your home pedicure kit to be prepared.

Things You Will Need
- Nail polish remover
- Cotton pads
- Bowl or basin [enough to fit both feet]
- Warm water
- Epsom salt(1) [optional]
- Liquid foot soap [optional]
- Toenail scrub brush
- Toe-cleaning tool
- Scrub
- Nail file
- Nail buffer
- Toenail clipper
- Cuticle pusher
- Cuticle oil
- Moisturizer
- Nail polish [base coat, color, top coat]
- Toe separator
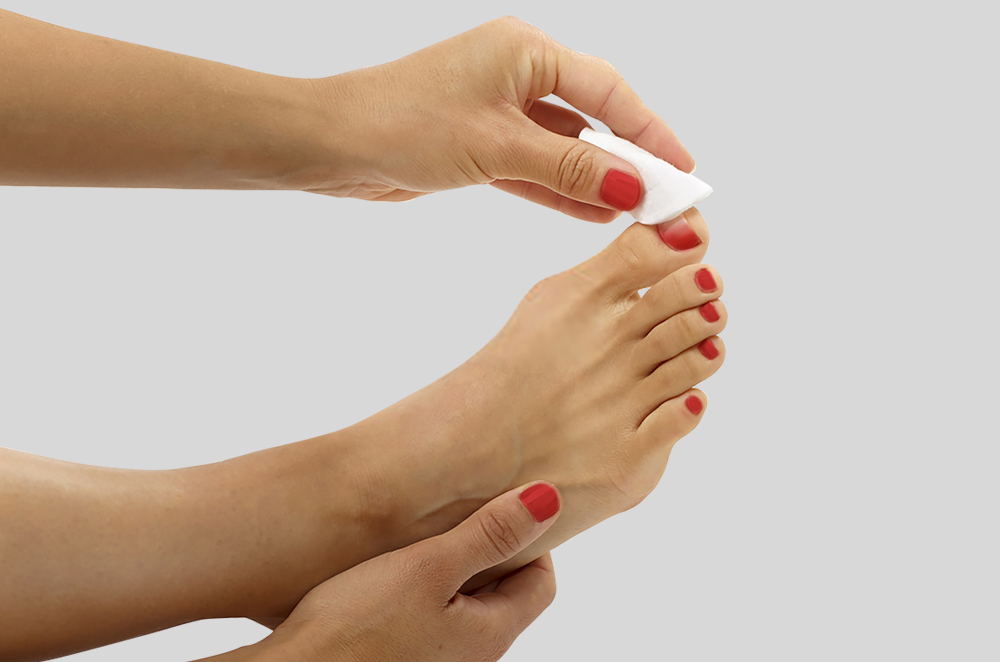
Get Rid Of The Old Junk: First Step Of Professional Pedicure At Home
To do your professional pedicure at home, first start with a clean sheet. You need to make sure that your toenails are polish-free. As cotton balls will most likely leave frizzies, use cotton pads instead. Saturate cotton pads with nail polish remover. One thing to keep in mind is to use a non-acetone remover as acetone remover can be harsh and weakens and dries nail beds(2). Then, press the saturated cotton pad on your toenails and soak in for a few seconds. Wipe off the polish with the pad. If they still leave traces, nail experts recommend using lemon juice to remove them completely. With a few tries of course. Once you get rid of nail polish and debris, wear your beauty cap. Here comes the fun part.
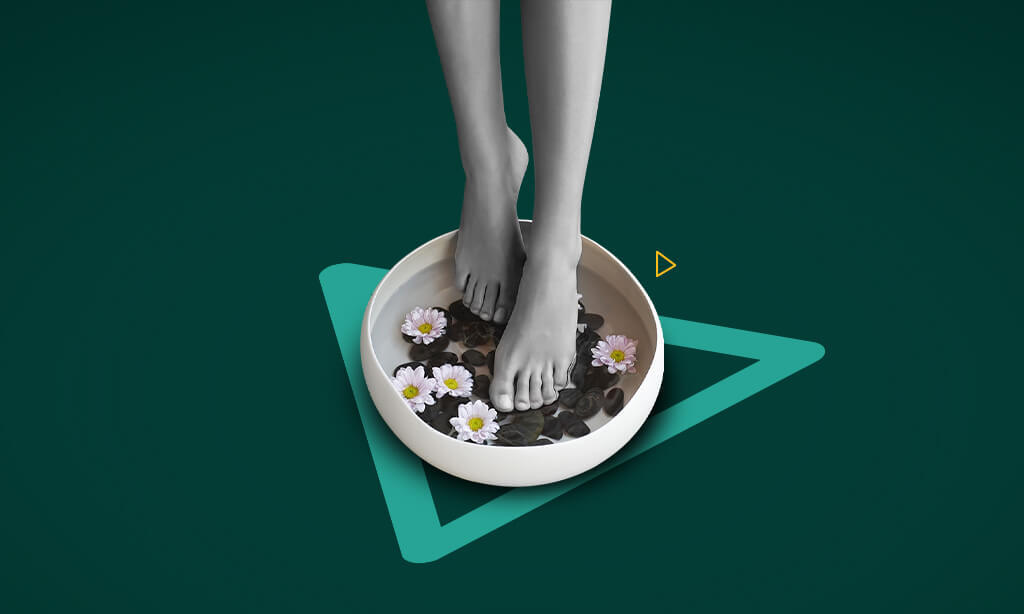
Give A Soothing Bath To Your Feet
Take the bowl or basin that can fit both of your feet or not if you don’t mind switching them constantly. Fill it up with warm water to soak your feet in it.
Adding Epsom salts or liquid foot soap to the water will add a lot to the whole experience. Some people even add bubble bath mix or soothing fragrances of their choice. After mixing the ingredients you want, dip your feet in, sit back and relax for the next ten minutes or so. You can soak them longer to enhance the softening process. This soothing bath will relax your senses and cleanse and soften your rough skin along with your cuticles and it will be easier for you to remove them. It will also help heal cracked heels. Ready to start your professional pedicure at home? Not yet, pat dry your feet with an absorbent towel. Remember, the softer your feet, the better!

What else can you add to the warm water?
A capful of distilled white vinegar to cleanse and tone, a few drops of tea tree oil to kill bacteria, or a few slices of lemon to soften cuticles and calluses and sanitize your feet. Everything sounds promising!
Clean The Toenails: Never Skip This In Your Professional Pedicure At Home
While you are soaking your feet, you can clean each of your toenails in the water itself. Either use a toenail scrub brush or toenail-cleaning tool. Make use of soapy water to clean underneath each of your toenails.

The cleaning tool will have a small hook on one end and a point on the other. Gently slide under the white area of each toenail to remove the dirt. The key to making your polished toenails stay the same for a longer period is well-cleaned nails! Keep this in mind while you do professional pedicure at home.
Scrub Away The Dead Skin
Pat dry your feet. When the soles of your feet are soft enough, it’s time to scrub out the dullness there. Exfoliating your feet will help you get rid of the dead skin on the surface of your feet, so healthier skin can be brought out. Massage your feet for 2-3 minutes each with the scrub focusing on the balls of your feet, sides, around your toes, and your heels.

Scrape and remove any dead or dried skin from calloused and hard areas until they feel smooth to touch. Don’t overdo it as that could end up irritating. Focus only on the rough part without removing too much skin. Make sure there’s no residue in your cuticles or between your toes. You can also use a foot file to run back and forth across your heels, soles, and sides of your feet. Then, rinse and pat dry.
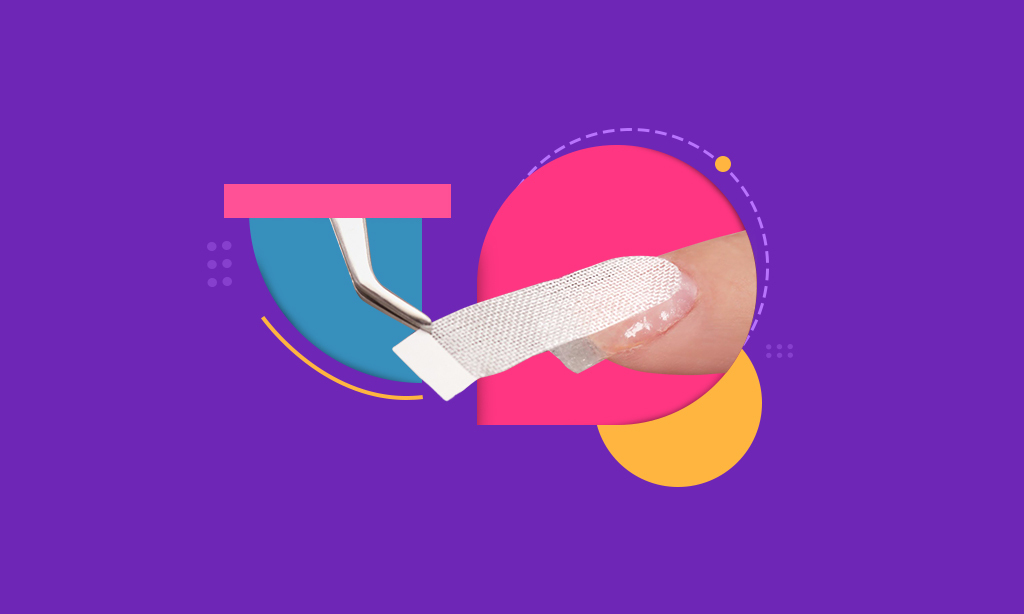
Take Care Of The Cuticles
Did you know that cuticles are the barrier of protection for your skin around the nails from possible infections? Yes. so if you want to get a professional pedicure at home, you also need to take care of your cuticles.
So, you need to be extra careful while tending to your cuticles, which is the next step. There is no hurry! For this, saturate a cotton pad with some cuticle oil and soften your nail bed. Then, give a massage on each of your toenails by gently rubbing the pads on them. When the cuticles are soft enough, go ahead and push the dead skin back with a cuticle pusher to get a nice shape. That will give your toenails a tidier look.

Rub a little more cuticle oil in because it will make the pedicure last longer. Then, repeat the step with the next foot by giving each toenail the attention it deserves. Then, dab another cotton pad with saturated nail polish remover on your toenails to remove excess oil. Most of the salons and spas cut your cuticles for you because that is a part of the pedicure process. But it is not recommended to do this at home. That might cause severe infection or damage as you are not trained to cut your cuticles by yourself.
Time To Clip, File, And Buff
Next, you will treat your toenails. Wait for at least five minutes to start trimming or clipping your toenails. Give your toenails time to dry up and harden for this step. Take your nail clippers [only if you have excess length] and clip your nails straight across to just above the skin in the desired length. Clip them with little snips rather than all at once to not risk breaking the nails. Make sure that you don’t cut too close, or you might risk an ingrown nail. If you are someone who wears sneakers most of the time, it’s wise not to have long nails as they tend to get bumped in your sneakers, leading to bruising or breaking of nails.

Now, use the file to get the desired shape. Smoothen out the raw and rough corners and edges by working in one direction. Smoothen them until they are even and in the shape you desire. I would recommend a square shape with rounded edges rather than oval shape which has high chances of ingrown nails. You don’t want that while doing a professional pedicure at home, do you?
Next comes the buffing block. After you are done with filing, gently buff your nail beds to smoothen out any ridges that will make the nail polish look uneven. That’s the end of toenail treating! This could be the regular spoiling of your tips and toes.
Use Foot Exfoliation
As the saying goes, “you should put your best foot forward”, polish your feet regularly to make them as soft as a baby bum.

There are many exfoliating scrubs you can use to rub off rough skin. Or you can make your own homemade DIY scrub mixes for added softness and scent at the end. Gently exfoliate the paste in a circular motion on the pads of your feet, heels, and even your lower legs too. Rinse off all of the excess scrubs and pat dry with a towel. This is an added spa experience that can even out the rough patches.
Simple DIY scrub – Mix one tablespoon of sugar with one tablespoon of baby oil.
Slather On The Moisturizer
The next important step, like any beauty treatment, is moisturizing the skin nicely and smoothly. Get a good moisturizer and work the product from your toes all the way up to your calves.

Choose a moisturizer that is not too greasy to avoid getting your toenails oily again. Also, make sure that the moisturizer is not a scented lotion to keep the nails from breaking(3)with synthetic fragrance in it. Besides, unscented moisturizer will help your skin stay hydrated and smooth. Replenish the moisture by massaging your feet which will nourish and hydrate the skin after all the soaking and scrubbing you have done. Pay close attention to every nook and corner like the arch and in-between your toes. Keep on massaging, who doesn’t like a good massage now and then! The best time to do it is when you are doing a professional pedicure at home!
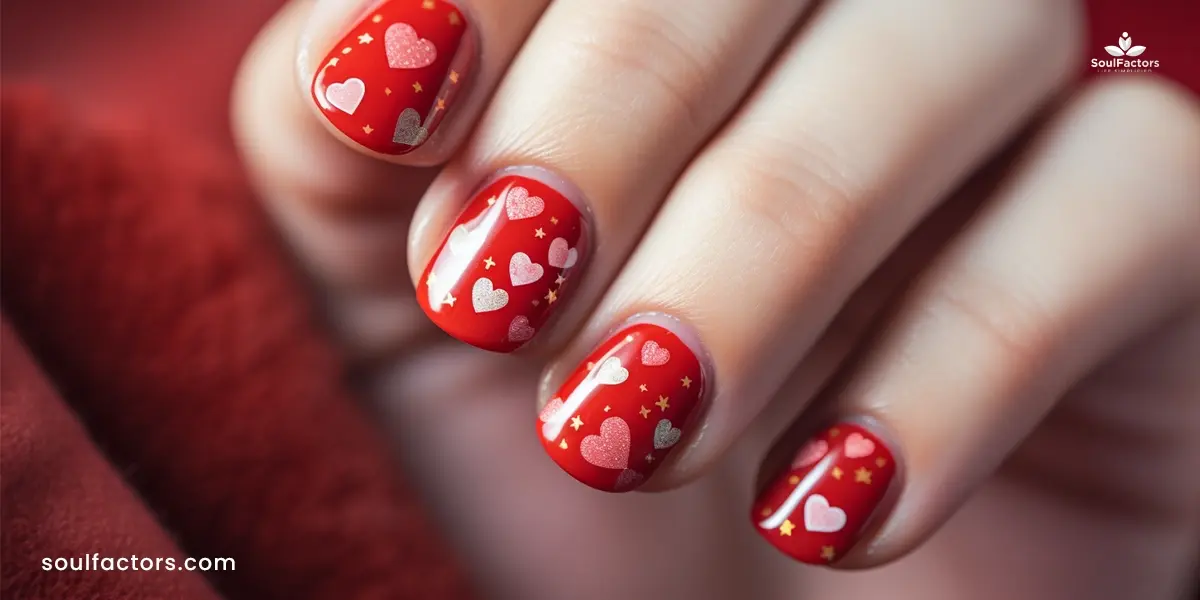
Prep And Polish: Complete Your Professional Pedicure At Home
And finally, it’s time to get it done! Before applying nail polish, grab another cotton pad and saturate it with the remover. Rub it over your toenails to get rid of the excess oil or moisturizer for the polish to stick better.
Use the toe separator to make the application easier. If you don’t have one, roll a cotton pad in between each toe to prevent smudging. The order of nail polishing is applying a base coat, two coats of color, and a topcoat. Start by applying a thin layer of base coat to make the nail polish stick better to your nail beds. Make sure it’s a thin and smooth layer in three strokes; one up the middle and one on each side.

Coming to the color coating, grab your nail polish and paint a thin and even coat. Start by the middle line to guide the other lines of polish on either side. Wait for a minute or two for that to dry and settle. If you are satisfied with it, add another color coat in neat and slow strokes. Make sure the tip of your nails is painted as well.
Final Touch
And for the final go, apply a clear topcoat to protect the nails from chips, add shine and luster, and smooth away any flaws. Just one thin layer of it is all it takes to bring the glow. Thin layers will be easy to dry and will stay for longer. When you are done with the topcoat, you are done with the pedicure.
Now it’s time you sit comfortably and wait for it to dry. It takes nail polish longer than you would think to dry and give the shine, so be patient ladies! If you try to rush it, you might end up with an uneven, or worse, smudged finish. But if you do end up with rogue mistakes or errors, worry not! Use the saturated cotton pad to clean them up.

Nail polishes are said to take 12 hours to harden(4). Hence, many nail experts suggest sticking your feet in cold water for a few minutes to help your nail polish solidify. Do not try to dry your nail polish with a hairdryer. Sit back and relax for 15-20 minutes and you will be done with your pedicure! If you could have anyone else do all this for you, that will be a therapeutic experience for real! Other highly recommended tips are using the cuticle serum daily to get the most of your pedicure and reapplying your topcoat every few days to avoid possible chipping.
With these simple steps, you now know how to do professional-looking pedicures at home. If you can do a spa-quality pedicure by yourself, why go to a nail salon and break your wallet?

Subscribe to Newsletter
Elevate your routine, stay on trend, and embrace a personalized beauty journey with our curated insights.


Manal is a lifestyle influencer who has spent years delving into the world of beauty, fashion, and wellness- a pro when it comes to anything woman.
Reviewer name
Reviewer bio

Write a Comment