
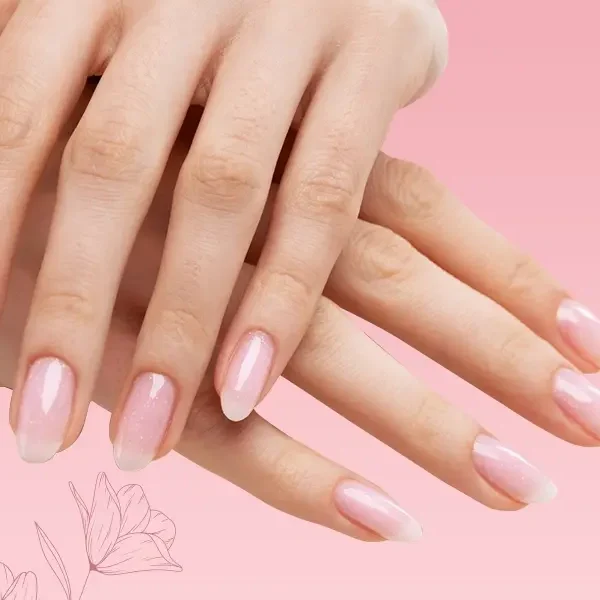
Nail Stamping Made Simple: A Beginner-Friendly Tutorial For Beautiful Nails
Create stunning and intricate nail designs quickly and effortlessly!
On Oct 16, 2023 – 7 minutes read
Nail stamping is a unique nail art technique that has been trending for a while now. Heard a lot about this technique and want to give it a try? Well, grab a cup of coffee and go through this blog post, which we have curated for complete beginners.
We will be giving you a quick tutorial on how you can get bright and lustrous painted nails in just a few minutes using this method. Once you know all about it, going to a nail salon for nail art will be a thing of the past!
What Is Nail Stamping?
This is a novel nail art technique used to create beautiful designs on nail surfaces. It involves applying nail polish to the design of your choice on the stamping plate, picking up the design using a rubber or silicone stamper, and pasting it on the surface of a nail.
The technique is quite simple and can be performed by almost anyone. Unlike freehand nail art, which requires quite a bit of expertise, you don’t need to have an artistic flair to do your own nails using the stamping method.
A few basic supplies are all you need to create impressive nail art that you would love to show off!
Things You’ll Need For Nail Stamping
Here is a list of supplies you will need for this procedure. Keep them ready before you get started!
- Stamping plate (choose the one with designs you love)
- Nail polish scraper (you can also use an old gift card)
- Nail stamper (rubber or silicone)
- Stamping nail polish
- Nail polish remover or acetone (1)
- Quick-drying top coat
- Scotch tape or lint roller
- Cotton pads
- Paper towel
- Q-tips
Prepare Your Nails For Stamping
You don’t need to do a lot of preparation before you begin nail stamping. Simply use a nail polish remover and a cotton pad to take off your old nail polish. Then, wash your hands with mild soap and water to remove any residue from your nails. Wipe them with a hand towel and ensure they are completely dry.
Nail Stamping Tutorial: A Step-by-Step Guide To Flawless Nails
In this stamping tutorial, we’re going to cover all the essential steps to make nail stamping for beginners easy and manageable. So, let’s begin!
- Gather all your supplies and organize them on a table before you start the stamping process.
- Choose your base color and the design you would like to stamp on your nails from the stamping plate.
- Spread a paper towel on the table and place the stamping plate on it to keep your table from spoiling.
- Apply the base color to your nails as usual.
- Now add two layers of top coat over the base coat. This will dry your nails quickly and make it easier for you to rectify any mistakes.
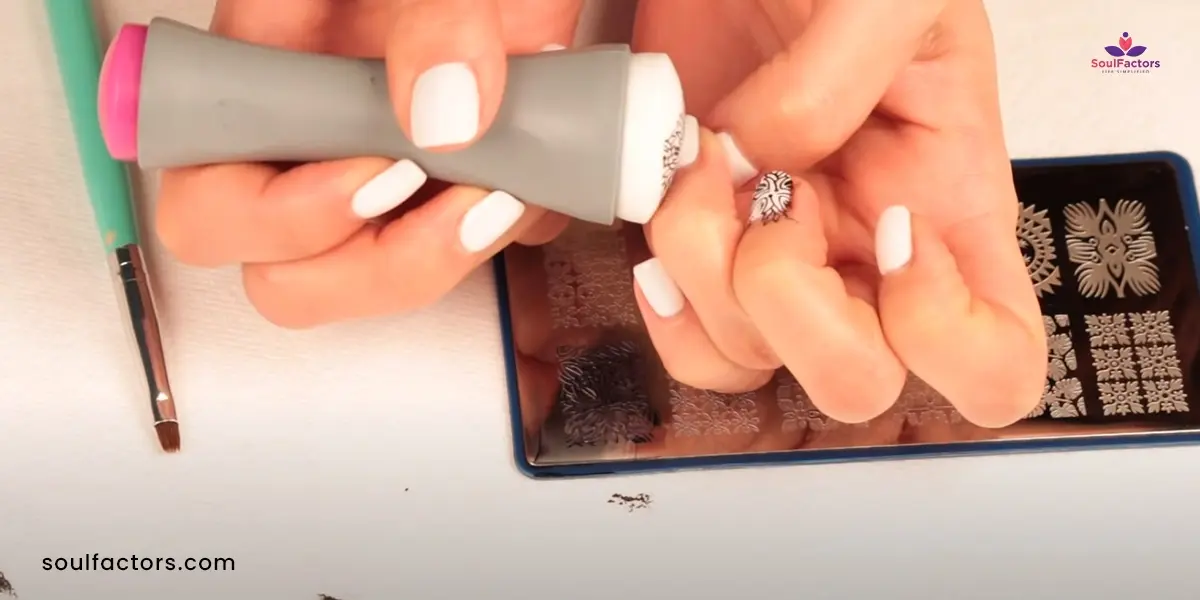
- Spread the stamping nail polish on your favorite design on the stamping plate.
- Quickly swipe the scraper at a 45-degree angle across the plate to remove excess paint. Now, paint will only be present in the grooves of the stamping plate.
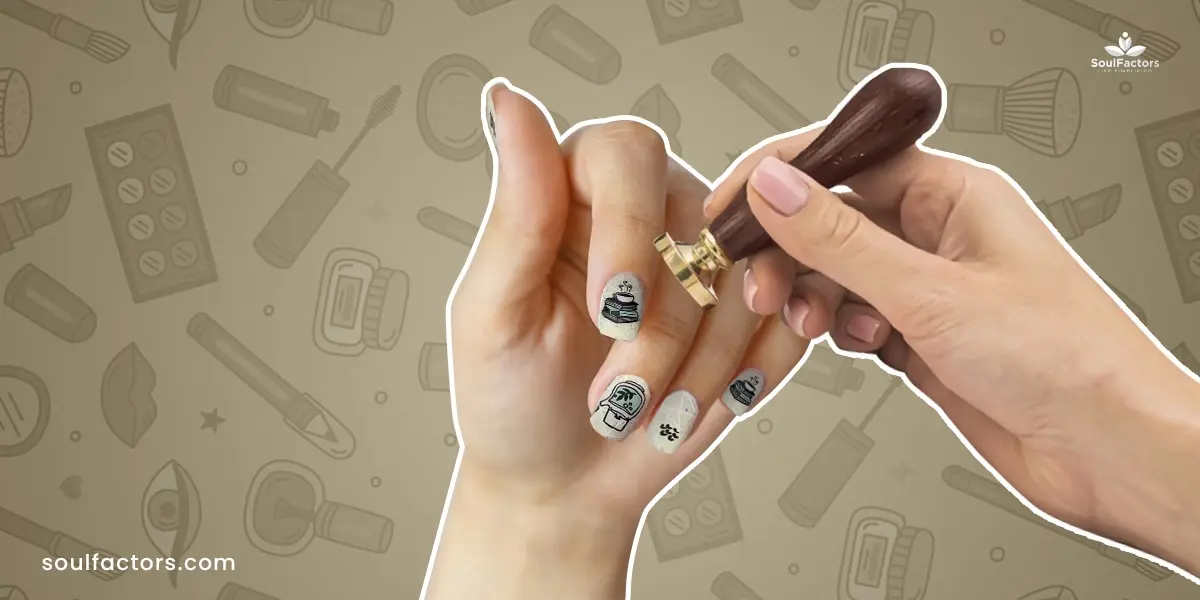
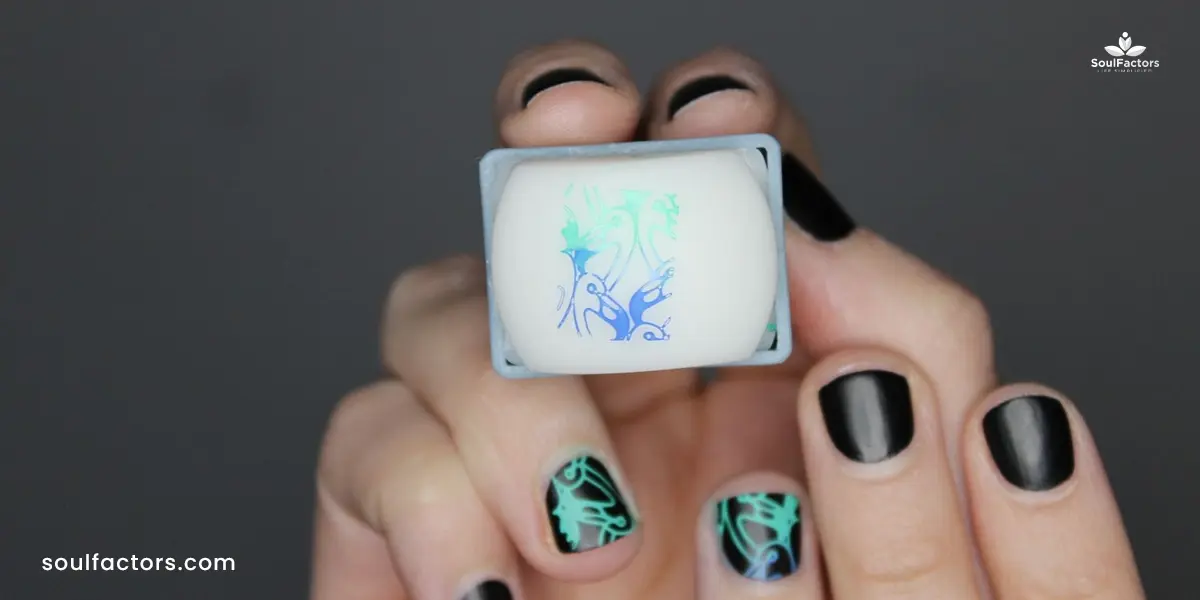
- Pick the stamper and roll it over the design once. The stamper will pick up the design on its surface.
- Now, place the stamper on one side of your nail and roll it to the other side in a single, steady movement. Your nail will now have your favorite design on it!
- Use the scotch tape or lint roller to remove any leftover design from the stamper.
- Clean the stamping plate using nail polish remover or acetone and a cotton pad so it is clean for stamping the next nail.
- If you have an excess design on your skin, use the tape to pick it up or clean it using a Q-tip dipped in remover. Make sure you don’t touch your perfectly painted nail.
- Once the paint is dry, gently apply a top coat to your nail so the stamp does not smudge.
- Repeat the process until you’re done painting all your nails.
And there you have it! A manicure that looks immaculate and professionally done.
Common Issues Beginners May Encounter During Nail Stamping
Nail stamping for beginners is easy only after you practice the technique a few times. It is common for newbies to face a few issues when they first try this. Let’s have a look at them:
#1 The stamper is not picking up enough polish.
This usually happens if the stamper surface is too hard or if you have not primed it. Try using a soft, clear stamper and wash it with water and soap. Use a lint roller to remove residue after it has dried up. Now try the stamper. It will hopefully work this time.
#2 The nail polish is drying too quickly.
You don’t have a lot of time when using stamping polish because it dries quickly. So work swiftly before the polish hardens on the plate or the stamper.
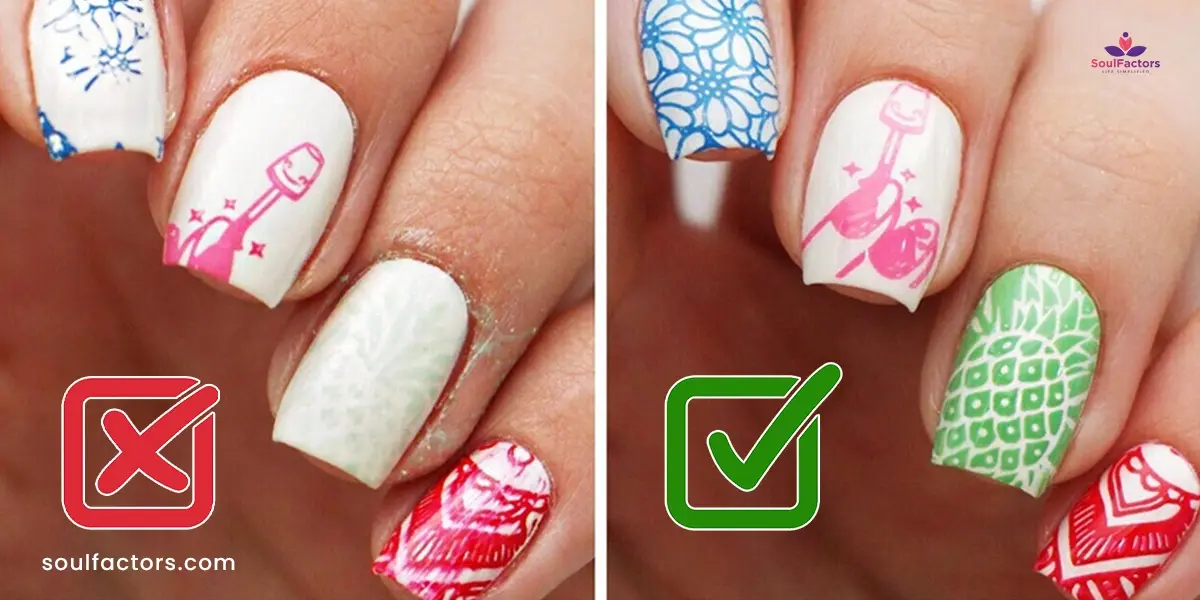
#3. Your designs don’t look bright and intense
Try scraping the plate just once or twice. Moving the scraper too many times takes the polish off the plate. As a result, the stamper will pick up less lacquer, and you won’t get a bright print. Also, prefer using a stamping polish, as it is thicker and a lot more pigmented than regular nail polishes. (2) It is also a good idea to invest in good-quality stamping plates rather than cheap varieties, as they yield better results.
How To Clean And Maintain Your Stamping Plates
As mentioned before, cleaning stamping plates is extremely crucial if you want to get a perfect stamp every single time. So, make sure you clean your plate before you stamp the design on each nail and again when you’re done with the manicure.
Don’t just wipe the plate in one single direction! Wipe it top to bottom, side to side, and in every possible direction to get deposited paint out of the grooves. Letting the polish stay can affect your future stamping endeavors and may not give you the desired results.
While you can use a nail paint remover to clean your stamping plate, it would be better if you used 100% acetone for this purpose. Pure acetone is free from oils and moisturizing agents, which may be present in regular removers and can settle on the plates.
Nail Stamping Ideas To Draw Inspiration From
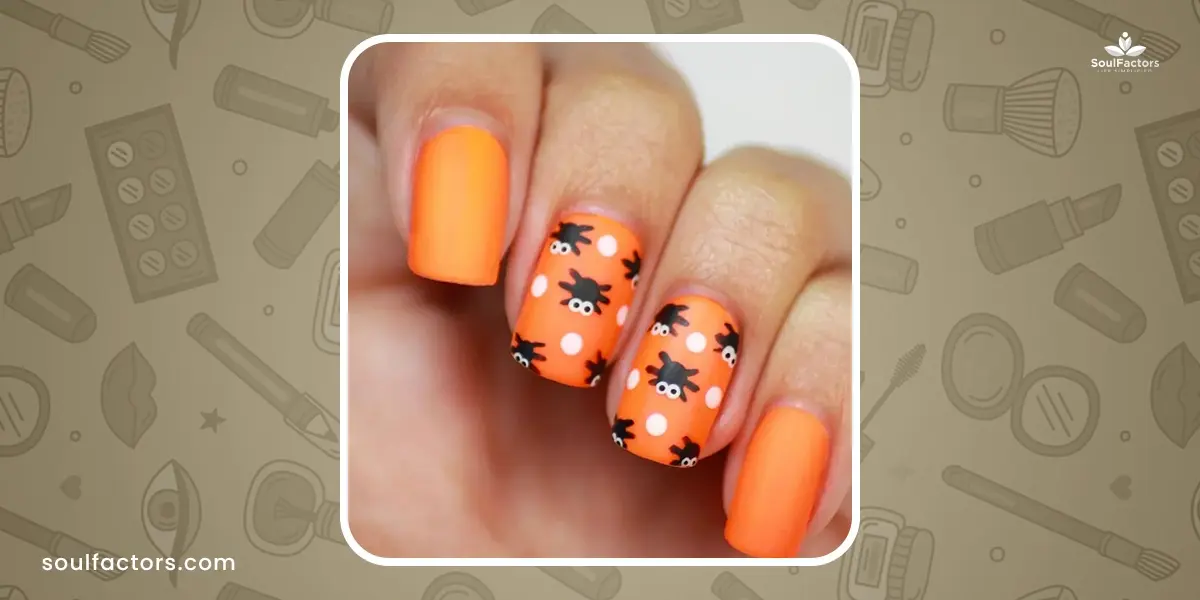
Here’s a Halloween-inspired design for you to sport at the next Halloween party!
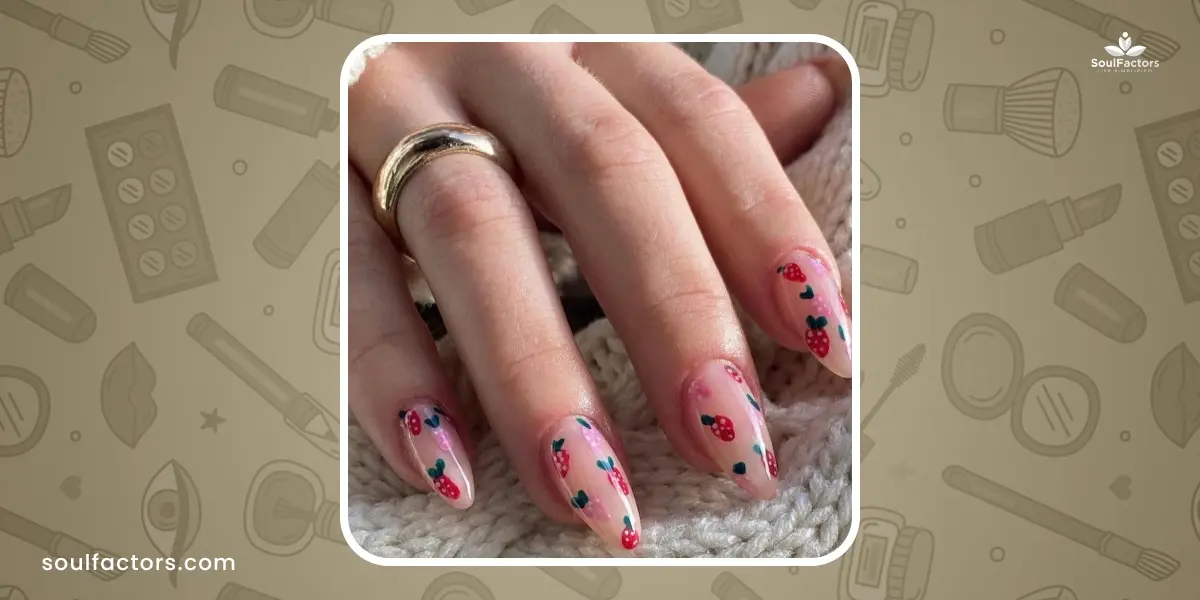
Amp up your nails with this cute design and tell the world how much you love strawberries!
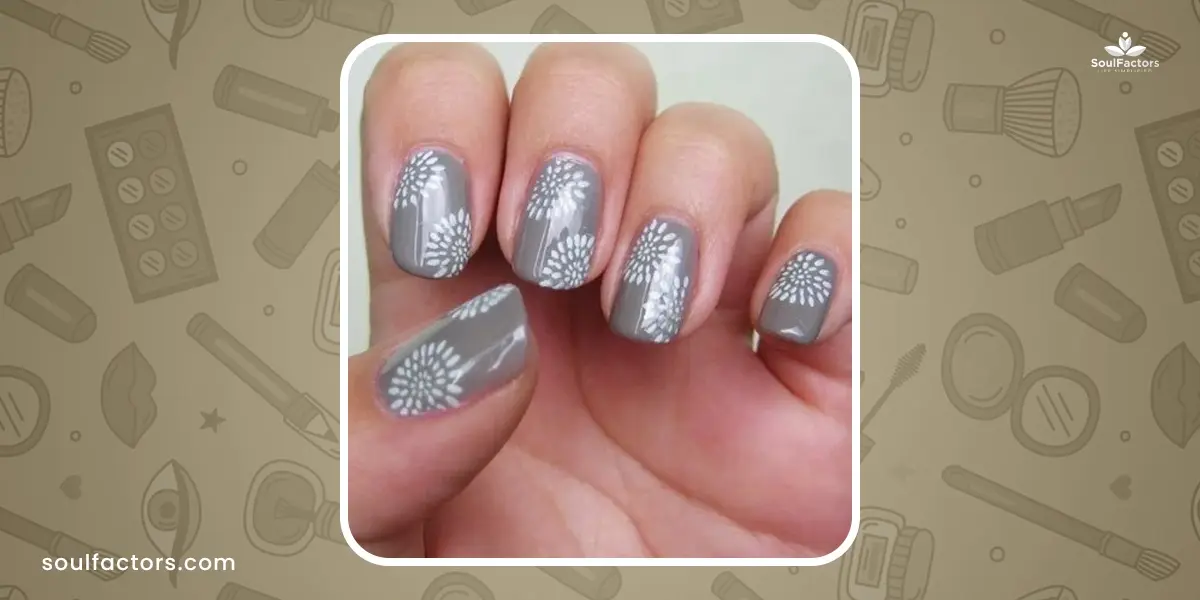
For days when you don’t want bold nails, try this simple grey-and-white design.
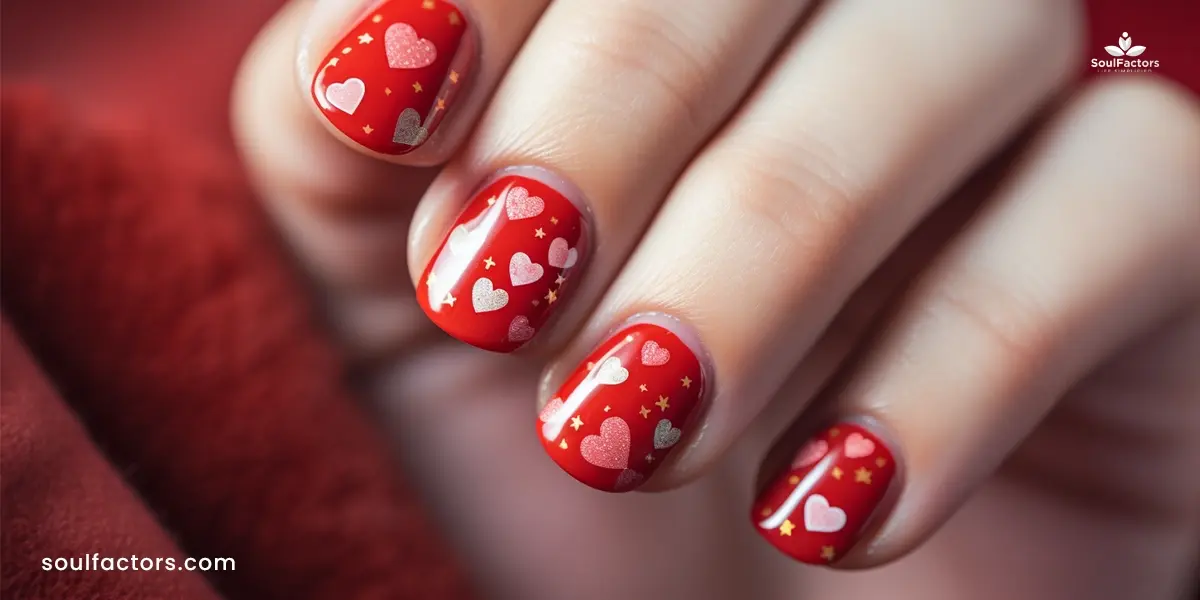
When love is in the air and you feel it all around you, let your nails speak of love too!

Go black and white with this super chick nail design to pair with that little black dress of yours!

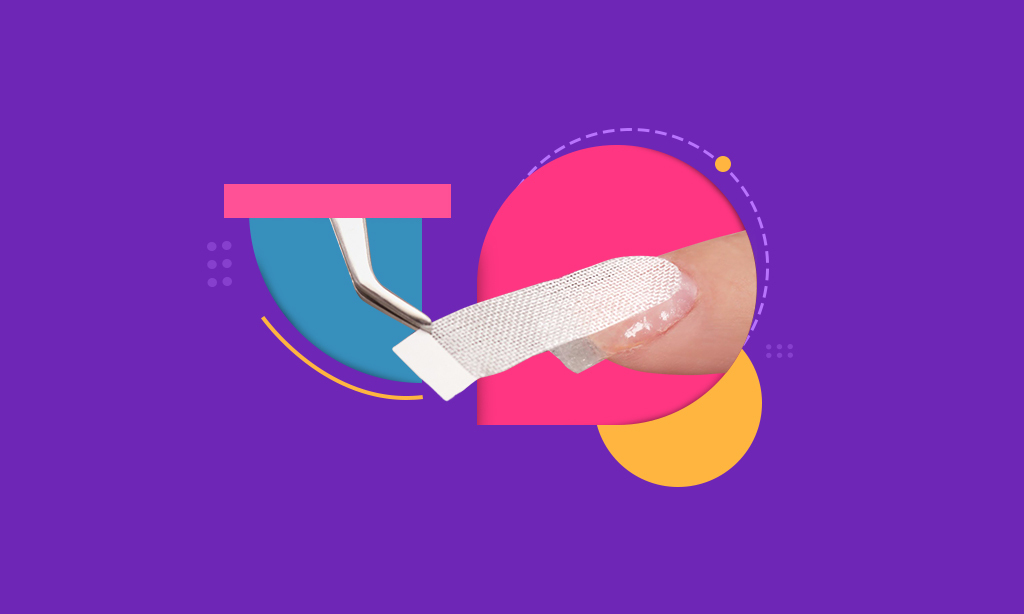
How To Safely Remove Stamped Nail Art Without Damaging Your Nails?
When you’re bored with your nail art and want to try another one, dab some acetone or remover on a cotton ball or pad and gently rub it on your nails to remove the design and the base coat. Soak a Q-tip in acetone to remove paint sticking around in the corners. This way, you can easily clean your nails without damaging your nail bed.
That’s A Wrap!
Nail stamping is a fun DIY technique for every nail enthusiast. It offers immense flexibility and freedom to be as creative as you like and get the nails you desire. This easy-to-execute technique will require just a few rounds of practice before you start creating seamless nail art designs that will make everyone go WOW! So, what are you waiting for? Grab a nail stamping kit if you don’t have one, and let your creative juices flow!
FAQ
Yes! You can use gel nail polish for stamping. In fact, it is one of the preferred choices for this purpose because it helps create well-defined designs due to its opaqueness and thick consistency.
You can use a regular nail polish for stamping, but the results may vary based on its consistency and how soon it dries up.
No, you don’t need a special nail polish for stamping, and you can use a regular one if you want. However, if you want your nail art to be perfect and look fabulous, you should get stamping nail polish for long-lasting results.
As stamping gel does not dry out as quickly as nail polishes do, you will need to put it under UV light so it dries and sets on your nail.
Use gel and breathable nail polishes if you wish to create bright and vibrant nail designs using the nail stamping technique.

Subscribe to Newsletter
Elevate your routine, stay on trend, and embrace a personalized beauty journey with our curated insights.

Priyanka is a women’s health advisor with a wealth of knowledge and experience in the medical field. She has long been a trusted source of guidance for women seeking comprehensive healthcare solutions.
Reviewer name
Reviewer bio

Write a Comment