
Maniko Nails Review: Is It Worth The Cost?
Should you ditch the nail polish and switch to Maniko Nails? Here’s the ultimate Maniko Nails review to help you make that decision.
On Feb 17, 2024 – 9 minutes read
I’m sure you have watched at least ten Maniko Nails reviews on Instagram before you came here. And if I’m not wrong, that’s when you thought of purchasing a set and then suddenly decided to do a background check before an impulsive buy.
How do I know, you ask? Because I did all of those things too. Unfortunately for me, I couldn’t find a good, in-depth Maniko gel strip review. That’s why I decided to do a Maniko Nail review of my own using it and doing some research so that it will help people after me.
So I purchased the starter kit, tried it on my nails, removed them, and tried it on again. I think that’s enough experience to talk about a simple starter kit that makes your nails look pretty. I will be touching on every aspect and claim surrounding this kit and give a verdict at the end. Ready to go on this ride with me?
Maniko Nails Review: What Is Maniko Nails UV Gel Starter Kit?
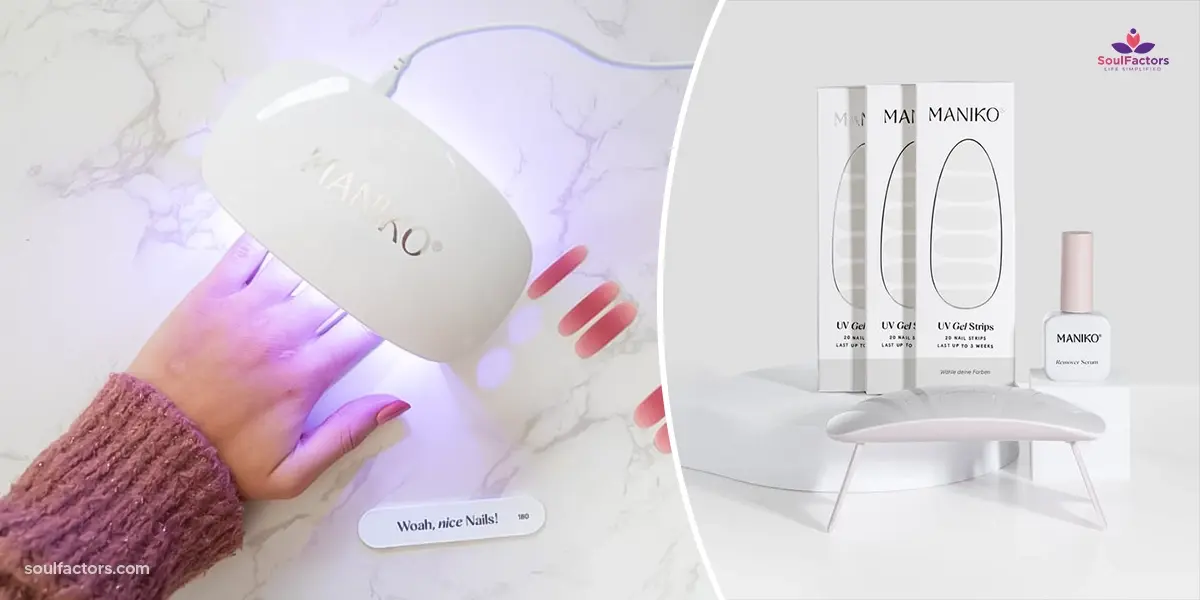
So, for those who don’t know– the Maniko Nails UV Gel starter kit is a Do-It-Yourself manicure kit that contains everything essential to get the nail job done.
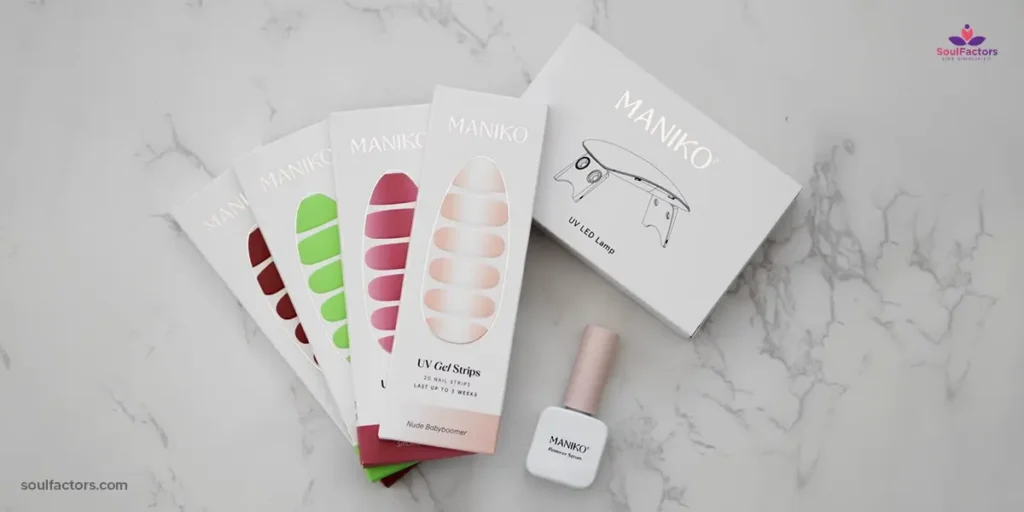
The kit consists of:
- UV Gel Strips(two color variants of your choice)
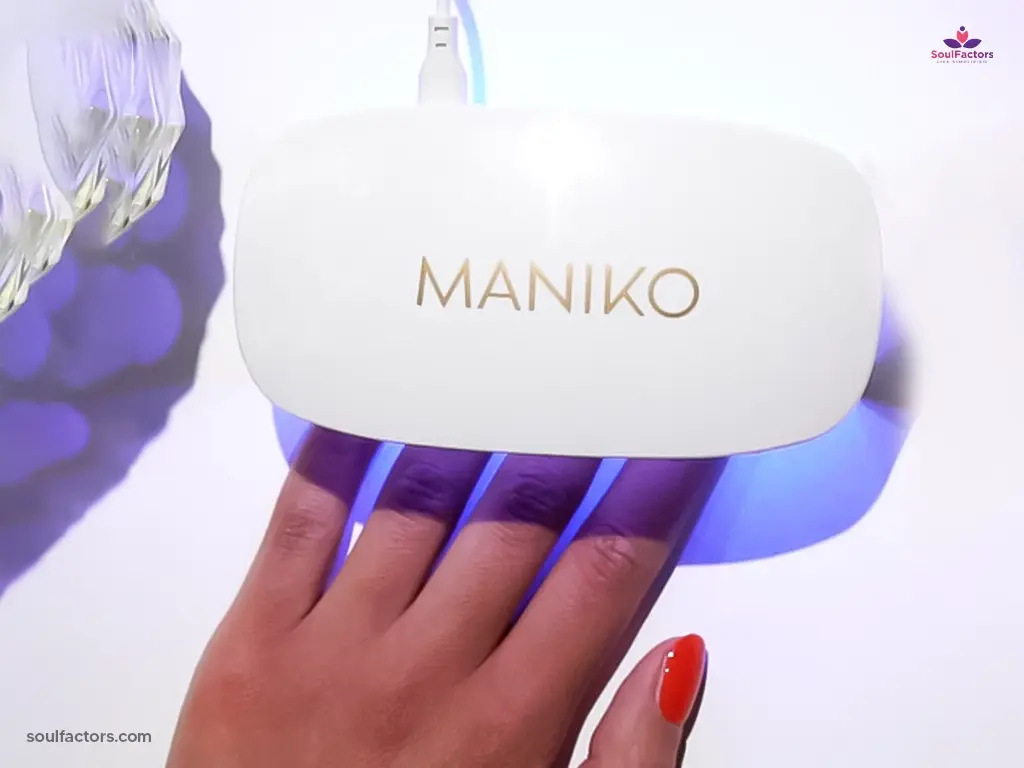
- UV LED Lamp
- Maniko remover serum
- Nail file
- Wooden Stick
- Alcohol Pads
That’s it in short, but let’s get to know each of them.
The UV Gel Strip is made of UV varnish to provide more durability and make your nails look more vibrant. Maniko UV Gel Strips are available in a wide array of shades that you can choose from, based on your taste. Another good news: you can use each of them twice with each end, by cutting them in the middle.
As you already know, the UV LED Lamp is meant to cure the strips in a minute, which will get turned off automatically after the required time. As for the Remover Serum, as the name suggests, it is to remove the strips when you choose to do so. That’s pretty much about it, and now let’s get into more interesting stuff.
How To Apply Maniko Nails?
Before you dive into the Maniko nails review and embrace flawless tips, make sure you have the essentials: Gel Strips, a UV Lamp, and nail scissors for precision trimming. Remember, healthy nails are happy nails, so prep them first for optimal adherence!
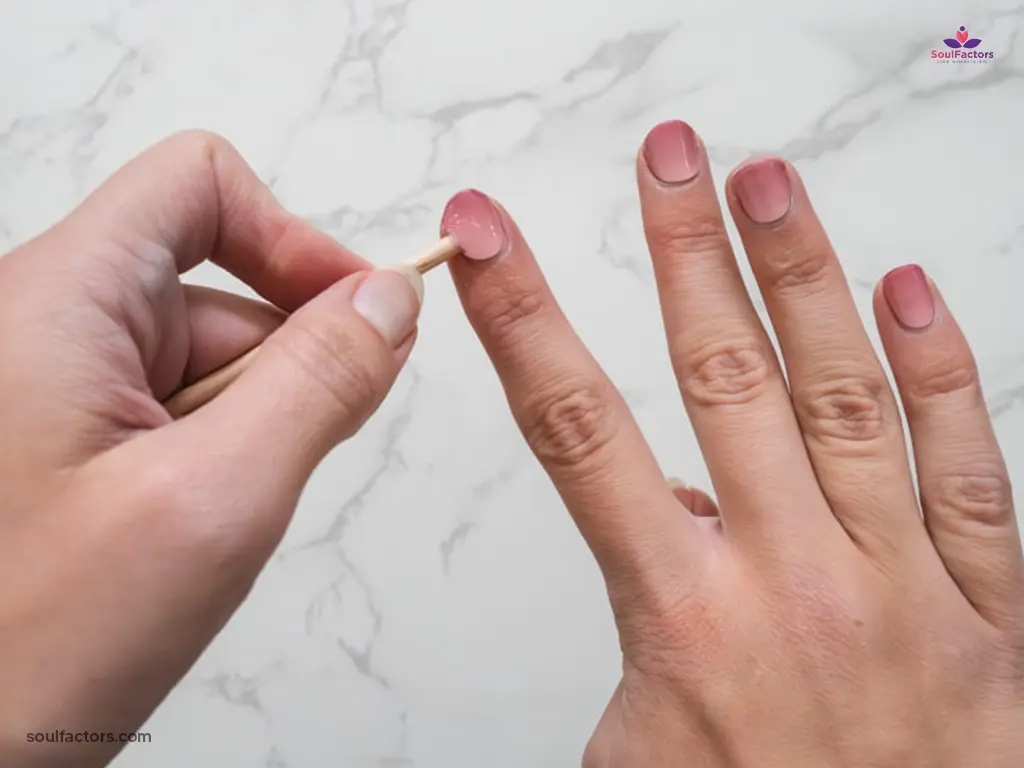
STEP 1: Start by pushing your cuticles back with the wooden stick and then removing the thin layer of cuticle on the nail bed.
STEP 2: The next step is cleaning your nails and creating the optimal base for the manicure. You can use the alcohol pads for this purpose. Now my favorite step – choosing the UV Gel Strip. Make sure to choose one with the right size, and if you are unsure, go for a smaller one. You can also trim them if you can’t find one that perfectly fits your nails.
While applying the strips, remember not to stick them onto the cuticles, and then smooth them from the center, towards the edges. To cover the entire nail edge with the strips, fold the overhanging end under the nail tips.
STEP 3: File the gel strips horizontally, in a single direction, below the nail edges (1), and then press them firmly onto it. Take the UV Lamp, connect it to a power source, place your index, middle, ring, and little finger centered under the Lamp, and then switch it on. The Lamp automatically turns off after a minute which gives enough time for the strips to cure. Now you can repeat the same process with your thumbs.
Well, there you have it. Your pretty little Manik(ured) nails!
How Long Does Maniko Last?
The manufacturer and some Maniko nails reviews claim that the UV strips last up to three weeks and without chipping. As someone who has tried it twice, I can assure you that they do, indeed, last that long– as long as you follow all the instructions properly.
The key to extending the durability of the manicure lies in the preparation. As I have mentioned earlier, do it on long, healthy nails. If the nail is stressed and brittle, be patient and wait until recovery. Even after recovery, make sure to take care of them by applying the base coat first and by applying the nail serum enriched with Vitamin E in between.
Long nails with white edges at least 2mm long will make the filing easier. Remember to file in one direction, and never vertically, to prevent damage and extend the life.
They also warn you not to apply the Gel under direct sunlight or outdoors in the shade, especially in the summer. I would suggest you not take it outside, no matter the weather. It’s your nails and your money; try not to be so careless about them.
How Much Do They Cost?
The Maniko Starter Kit containing a UV LED Lamp, a remover serum, and a UV Gel Strip is available on their official website.
Wondering how much you can save with Maniko Nails deals? In our comprehensive Maniko Nails review, we’ll delve into the price details of each set, helping you decide if their savings stack up compared to salon visits. Stay tuned for budget-friendly nail care hacks!
- UV LED Lamp – $24
- Remover Serum – $23
- UV Gel Strip – $23
The package comes with a 100% money-back guarantee for 45 days. If you are not impressed with this kit or the way it works, you can let the manufacturer know about your decision to claim a refund within the said period and you will be refunded in full no matter whether the kit is opened or not.
My Personal Experience With Maniko Nails?
Want to hear about my experience with the kit? I can tell you.
If you had read any one of my pieces before, you would know that I am very enthusiastic about trying new products and giving feedback. I have been hearing about this UV Gel nail starter kit everywhere and have been wanting to try it out for some time now. After quite a bit of procrastination, I decided to purchase it last month.
Two weeks after placing my order, the Maniko starter kit arrived in perfect condition, piquing my curiosity as a beauty enthusiast. Despite never venturing outside the salon for my nails, I couldn’t resist diving into the Maniko Nails review in action and seeing if I could achieve salon-worthy results at home!
One of my nails was not in the ideal condition, so I decided to start with the base coat. Not only curious, I’m precautious too. I followed the whole process, step-by-step, and with utmost patience. It was a success!
I removed it after 2 weeks because I lost interest and wanted to try a new shade. To my surprise, my nails were in the best condition even after 2 weeks, just like when I applied the gel. I went through the whole process again after a few days, and what can I say? I’m in love!
Maniko Nails Pros And Cons
It’s essential to carefully consider the pros and cons of any product before investing your hard-earned money. Many products come with enticing promises and may seem appealing at first glance, leading you to want to make a purchase without further consideration. That’s why I’m here to provide you with all the details that could influence your decision, including the Maniko Nails review, so you can make an informed choice moving forward.
Pros
- 100% UV varnish
- Strong and long-lasting
- Needs no drying time or brushing
- Vegan-friendly
- No animal cruelty
- HEMA-free
Cons
- If not cared for properly, it might chip.
- Not suitable for stressed nails.

How To Remove Maniko Nails?
If you are someone who has experience with removing UV nail strips, you would know it is not a job for someone with little patience. Having said that, it is in no way a complicated process either; just needs a little extra time and care.
As you must’ve guessed, we do use the serum to remove the strips. Instead of putting it on directly, you need to dip the tip of the wooden stick in the Remover Serum, apply it to the cuticles, and then use the stick to gently lift the maniko nail strips. Remember to lift it from side to side and not in the direction of growth. You need to dip the stick in the Remover Serum after every single lift. Loosen the adhesive layer between the strip and the nail and as simple as that you will have removed the Maniko Nails.
You can also use a cotton pad along with the Serum to remove the rest of the adhesive from the nails or drop the Nail Oil between them which will help dissolve the adhesive without much effort.
FAQs
Once you remove them, you cannot reuse Maniko nails. Not only because it won’t look good, it isn’t sanitary either.
They totally are. Maniko nails are free of HEMA or hydroxyethyl methacrylate, which is an allergen found in cosmetic products and do not contain any other substances that might harm your health.
Not all of them. Be careful what you pick, look for the ingredients, and more importantly, be patient when you remove them. As long you do all these, you are safe to go.
Maniko nails are available for both your fingernails and toenails and in 85 different shades.
Ideally, not. Unlike short nails, long nails with a bit of a white edge make it easier for you to file them after application.
Preferably, not. That is why they ask you to clean the nails first and apply the strips later. This gives the strips enough time to settle and last longer.
Permanent nail polishes usually damage your nail integrity and might cause nail discoloration. Gel nail polish, on the other hand, does not harm them and the nails will be as good as before once you remove them.
You have numerous options to choose from when it comes to enhancing your nails. You can go for fake nails, nail extensions, or gel nails from other brands, which may or may not be as good as Maniko nails.
Maniko Nails Review: Conclusion
Most Maniko Nails reviews back this product, and from my personal experience too, they seem genuine. As a kit that comes with all the necessary tools for an at-home manicure and has a variety of options to choose from, I honestly think this is the obvious choice for girlies who spend a lot of time perfecting their nail shape, thinking about nail designs, and searching for chrome nail-inspired looks on Pinterest. Finally, it is affordable, lasting, and seems to provide value for money.
After all, which one of us wouldn’t want a perfect set of nails without spending hundreds of dollars in the salon, and in the comfort of our own homes?

Subscribe to Newsletter
Elevate your routine, stay on trend, and embrace a personalized beauty journey with our curated insights.


Hi! I am Rachel; a mom and a hair and makeup artist. I am very old-school and I love sharing my experiences on parenting, marriage, and daily life hacks. What is more fun than that! I believe that to take care of anything, you have to love and give your heart and soul to it. Writing has been my passion ever since I was little and it’s the best way I express myself – my thoughts and dreams. Here, I write about everything that I love.
Reviewer name
Reviewer bio
Write a Comment