
10 Easy Steps On How To Do Professional Manicure At Home?
Tired of procrastinating on manicure? Worry not, through simple techniques, you can have your nails done with the least effort and money. It’s the perfect opportunity for self-care!
On Mar 26, 2023 – 10 minutes read
Don’t you envy those perfectly manicured hands you see almost everywhere you go? And you realize yours look like it has been ages since you had one appointment at the salon. When your wallet is on a tight-money schedule, you don’t want to break it at the salon. And you’ve probably imagined how wonderful it would be if you knew how to do professional manicures and pedicures at home. Hey, you can! Well, anybody can, with these professional tips.
How To Do Professional Manicure At Home?
Well, you don’t have to break your wallet anymore to have those manicured hands. All you need to do is learn how to do professional manicure at home! Not that it is difficult to do in the first place, but I can make it really quick and easy for you with 10 simple steps.

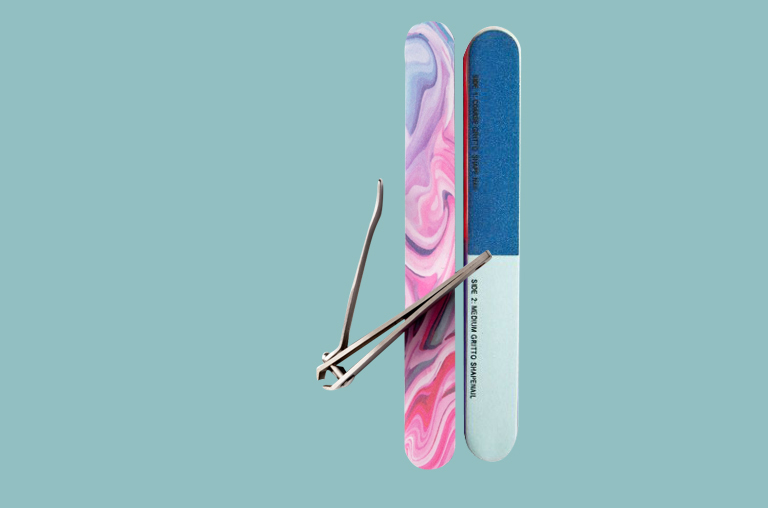
Preparation: Gather Your Supplies
If you have these supplies listed below at home [you most likely will because everyone has it!], worry no more! Things just got easier.
- Nail polish remover
- Cotton pads
- Bowl or basin
- Warm water
- Nail scrub brush
- Scrub
- Nail clipper
- Nail file
- Nail buffer
- Cuticle pusher
- Cuticle oil
- Moisturizer
- Nail polish [base coat, color, top coat]

Grab everything you need and keep them near you within reach. Surely, you don’t want to go hunt down a clipper in the middle of this. Here you have the 10 easy steps on how to do professional manicure at home. Paint away!
How To Do Professional Manicure At Home? Step 1: Remove
Remove nail polish that you already have on your nails. Your nails should be polish-free for this to be a success. You don’t really expect to have your nail done neatly on top of the fading nail polish, do you? You have to make your nails clean of previously applied polish even if they are clear coat or fading coat. Otherwise, the result will be uneven finish on chipped nails.

Saturate the cotton pads with the nail polish remover. It is important to use an acetone-free remover as products containing acetone are harsh and can dry your nails and skin, even if they work faster(1). You need gentler ones for your skin, so choose the non-acetone remover. Hold the cotton pad for 5 seconds on the nail to soften the old nail polish. Then, wipe away to clear your nails. You’re done with your first step in how to do professional manicure at home!
Step 2: Clip, File, And Buff
Clip your nails first!
Take your nail clipper and clip your nails straight across, if necessary, to the length you like. Be careful as to not break your nails by clipping all at once, rather clip with little snips. Don’t clip them too close to the skin though(2). You need perfectly shaped nails to have a successful salon-standard manicure. So I would say don’t mess that up.
Time for the buffing!
Then comes the buffing. Take your nail buffer [not the emery board] to soften the surface of your nails. Gently smooth the top and sides of your nails to brighten your nails’ natural shine and to remove ridges for a flawless base to paint on. Then again, don’t over-buff to avoid thinning your nails. Three to four swipes on each nail is more than enough. The chances of having buffing dust rest on the nail beds are high, so remove them with another swipe of saturated cotton pad. You can do buffing regularly in the shower for your nail beds to shine and shimmer. That way, how to do professional manicure at home won’t seem as daunting.
Finally, file those nails!
Take your nail filer and file your nails into a neat square or rounded shape edge. However, be sure that you file in one fluid motion and direction only with long and light strokes. Start from the outside edge and continue in a side-to-center movement. Filing back and forth will weaken the nails. Do not use any metal or extremely coarse or hard file to shape them to avoid splintering or damaging them. Instead, use a gentle abrasive grit emery board or crystal nail file.
How To Do Professional Manicure At Home? Step 3: Soak
The next step is the most relaxing step when it comes to doing professional manicure at home. Take the bowl with warm water [not too hot] and soak your fingers for three minutes. Anything you overdo will bite back. So keep the soaking for not more than five minutes. You don’t want to overdo it with cuticles.

Add a few drops of shampoo or gentle cleanser or scented fragrance or oil for an added effect. [Epsom salt(3) is highly recommended to add] Soaking your nails will remove the dirt in them while softening them. After soaking for a good three minutes, pat them dry with a fluffy towel. This is the most pampering your nails need once in a while. Your hands and mind will look forward to these professional manicure at home sessions.
Step 4: Clean
While you are soaking your nails, make use of the time and use soapy water to clean your nails. To remove the dirt completely, use a nail scrub brush. This is an optional step that you can skip. But this can give you the advantage of having clean and spotless salon-perfect nails.

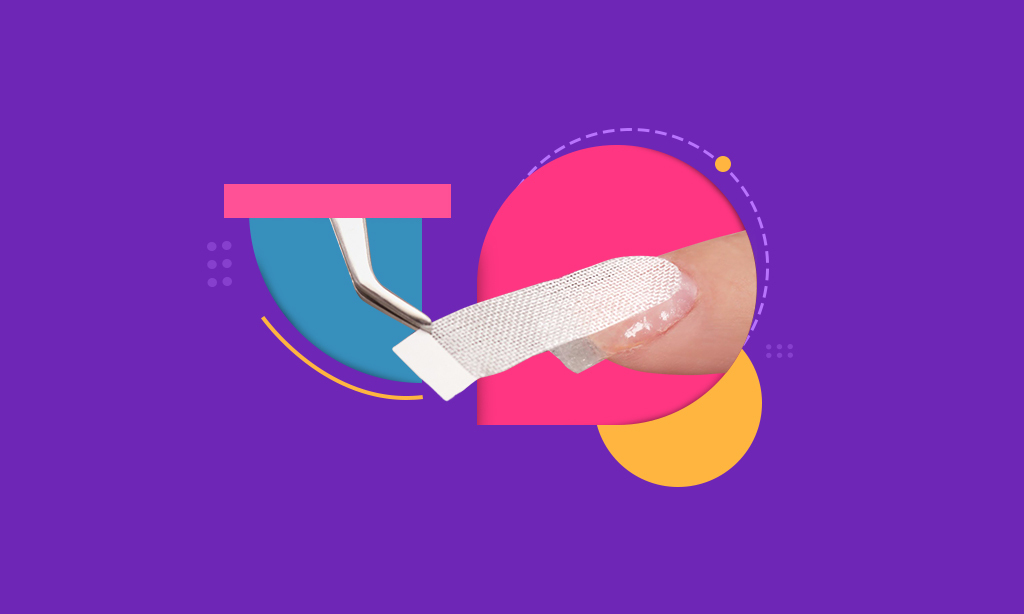
How To Do Professional Manicure At Home? Step 5: Push
Cuticles should be tended with tenderness because they are the barrier of protection for your skin around the nails from possible infections. Take out your cuticle oil and saturate cotton pads with them. Massage your cuticles with cotton pads to soften them. One thing you should avoid doing at all costs is cutting your cuticles. Unless you are a professional, cutting them will be uncalled for and unnecessary. Cutting them is a step at a salon but you are trained to cut them yourself while doing it at home.

Using a gentle cuticle pusher, push back the plump but softened cuticles away from the nail to make your nails neat and tidy. When you are done, use the cotton pad saturated with nail polish to remove excess cuticle oil. You’re already halfway through your self-care journey of how to do professional manicure at home!
Step 6: Exfoliate
Scrubbing the dead skin around your nails is an optional step that you can skip. But this is assuredly good for the skin in the long run. Take a gentle exfoliator and scrub away the deadness and roughness not just from the skin around nails, but go up till your wrists. Or wave goodbye to the deadness on your arms.
You are exfoliating already, might as well treat your entire arm! This will make your arms extremely soft after applying moisturizer. Because exfoliating will help the moisturizer to work brilliantly by sinking it into the skin without any deadness acting as a barrier.

There are many exfoliators out there that you can use or you can put a few things at your home to good use by making DIY exfoliators. Ok, you don’t want to go that far. Then, the least you can do is mix some sugar with baby oil and gently scrub them over your hands in a circular motion. After you are done with exfoliation, rinse off and pat dry with a towel leaving them a little damp for the next step in how to do professional manicure at home.
How To Do Professional Manicure At Home? Step 7: Moisturize
Moisturizing is the most important and not-skippable part of taking care of your skin. Skin that is not moisturized enough age faster than the skin that is treated with daily moisturizing. You have to moisturize your hands daily after the shower when your cuticles are soft. Now you know how important and necessary is it to moisturize your hands after chemicals are used on them.

The next is to blob your favorite moisturizer on your hands and soften them giving more attention to the skin around nails. This will help your nails to not become Sahara-dry while polishing. Give a good massage to your fingers and work the product from fingers to elbows because you have just exfoliated. The best choice of moisturizer will be not too greasy to avoid making your nails oily or a scented one [with synthetic fragrance(4)] to avoid breaking your nails. A good moisturizer that replenishes your skin will help it stay hydrated as well. This will add to your experience of professional manicure at home.
Step 8: Base
Here comes the beginning of the end. Paint your nails like a pro!
Before overstepping, grab a cotton pad and saturate it with nail polish remover. Swipe and clean your nails to remove any excess oil for the polish to adhere and stick better. Don’t want your nails to be slippery now, do we? Try to leave your cuticles moisturized though.

Polishing your nails in layers is the key. The order goes- a base coat, two or three layers of color coat, a topcoat. You have to wait for some time to allow each coat to dry completely. If you are asking yourself for the need for a base coat, here’s the answer. A base coat serves an important role in making your manicure last longer. It will hydrate your nails, prevent them from chemicals in the polish that can weaken your nails, prevent your nails from staining [especially if you prefer dark shades], or turning yellow-tinted, and chipping. This is clearly the base of your nail polish. Remember to use a clear nail polish as the base coat when you’re learning how to do professional manicure at home.
Do not shake your nail polish, instead, roll it between your palms before you start. Paint the base coat in three strokes starting from the middle. Brush it all the way down to the cuticle in a clean line and into the corners of the nail. If the base coat is done with maximum coverage, the second coat can be done easily. Make sure that the coat is a thin layer.
How To Do Professional Manicure At Home? Step 9: Color
Now, grab your favorite color nail polish and do the three-stroke magic in a thin and even layer. Wait for five minutes for it to dry completely. Layer up another thin layer for the color to pop out like how it is supposed to.

(The final) Step 10: Topcoat
Then comes the top coat to seal the polishing with sheer glazes. Apply a clear topcoat to protect your nails from chips and add shine and luster to the nails. Brush the topcoat along the top edge of your nails to minimize chipping and extend wear-time. Again, make sure the layer is thin and even. The advantage of the thin layer is that it will dry quickly. Do the same to your other hand too.

This protective shield is your last step in your how to do professional manicure at home process. Wait at least 15 minutes before you get up from where you were sitting because you want your hands to sit still like you. Be patient and let your nails dry with time. If you can have anyone do this for you, the better! Especially with painting with your non-dominant hand.
Pro tips you don’t want to miss in your manicure at home:
- To paint your dominant hand with the non-dominant hand, sit at a table with your elbows rested and your hands supported on the surface. Keep an armrest or a rolled-up towel for extra comfort. This will help you keep your hands steady while you paint.
- Avoid overloading your brush with polish. Brush the excess off before you start painting.
- To remove any smudges or mistakes, saturate cotton pads with remover and carefully wipe them off.
- Moisture after you are done with the manicure as the final touch.
- Try picking a nail polish with a flat, wide brush, that can cover the whole surface of the nail and give a better color in fewer strokes.
- While painting, try wiping one side of the brush on the bottle, then use the other side to paint your nail.
- Touch up your manicure every other day with a single layer of topcoat and cuticle oil to hold the durability of salon-standard manicure.
- If you are new at painting nails, I’d recommend using a lighter shade of polish so that any mistake or smudging will be less noticeable.
- Do not use your blow dryer to dry your nails after nail polishing, as the heat from the dryer will chip and peel.
- Do not get too close with the fan’s airflow or you will end up with bubbles.
- The best time to do the manicure is before bed. Your nails can dry completely without your impatient jumps and the nail polish will show its magic and wonder the next morning.
- To protect your well-done manicure, wear gloves when doing any household activities.
Final Thoughts
Follow these tips and see the amazing results. Now that you have learned how to do professional manicure at home, go ahead and try it on a weekend, go ahead, try it. You’ll realize how simple the whole process is once you know the right techniques and break it down to its basic steps.

Subscribe to Newsletter
Elevate your routine, stay on trend, and embrace a personalized beauty journey with our curated insights.

Manal is a lifestyle influencer who has spent years delving into the world of beauty, fashion, and wellness- a pro when it comes to anything woman.
Reviewer name
Reviewer bio

Write a Comment